

MIDI Keyboard

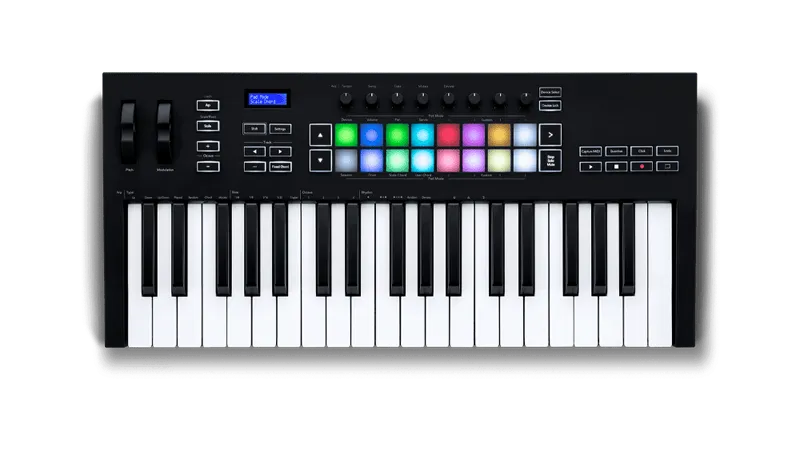
- It is suggested to have a keyboard with at least 37 keys or 25 keys and 11 drum pads.
- Alternatively, you can map [a dedicated gamepad for navigation]. You can use a typing keyboard or a gamepad.
- You can enable this in
[Menu] > [Options] > [Deluxe Settings] > [Controller] > [Navigation Pad]
To sign in on a 25 key keyboard, you may have to lower the octave and press the A♯2 key, then raise your octave back up again.
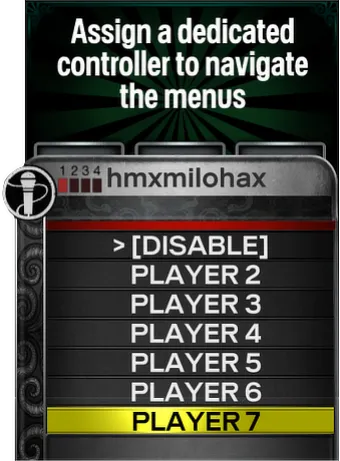
- You can enable this in
- Alternatively, you can map [a dedicated gamepad for navigation]. You can use a typing keyboard or a gamepad.
- Your MIDI keyboard needs to:
- be set to MIDI Channel 1.
- have modultation and pitch controls.
- optionally have a sustain pedal.
Setting Up
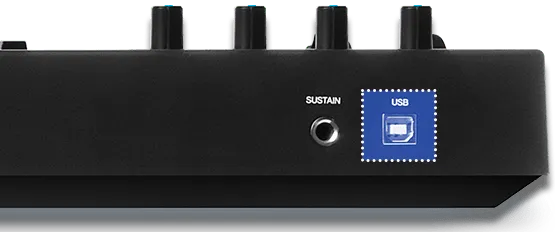
Section titled “Setting Up”If your keyboard has a USB port, all you need to do is plug it into your computer.
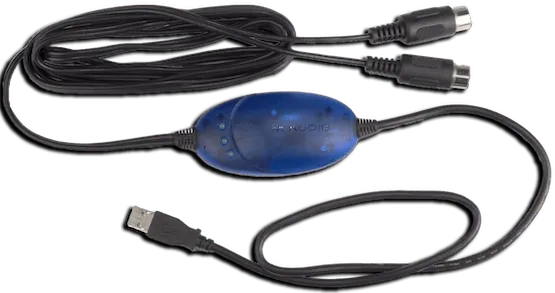
If your keyboard only has a MIDI output, you will need a MIDI to USB interface.
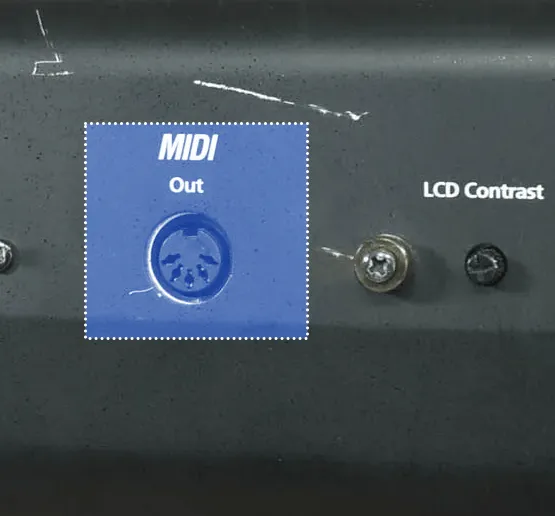
Here’s an example of a MIDI to USB interface. Most will come with an LED indicator to show activity. To check that you’ve plugged it in correctly, you should see “MIDI In” blinking when you press a key.
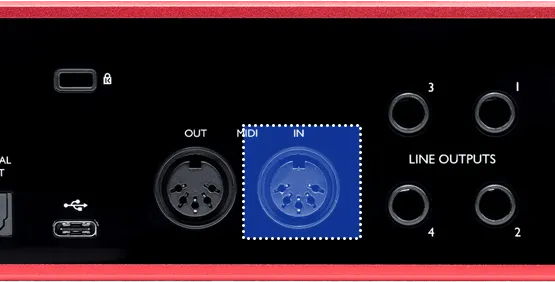
If you have an audio interface, you may already have a way to plug in MIDI to your computer, as some audio interfaces come with MIDI inputs. For example, this Scarlett has MIDI connections in the back.
Find whichever way is the most convenient for you then connect your MIDI Keyboard to your computer.
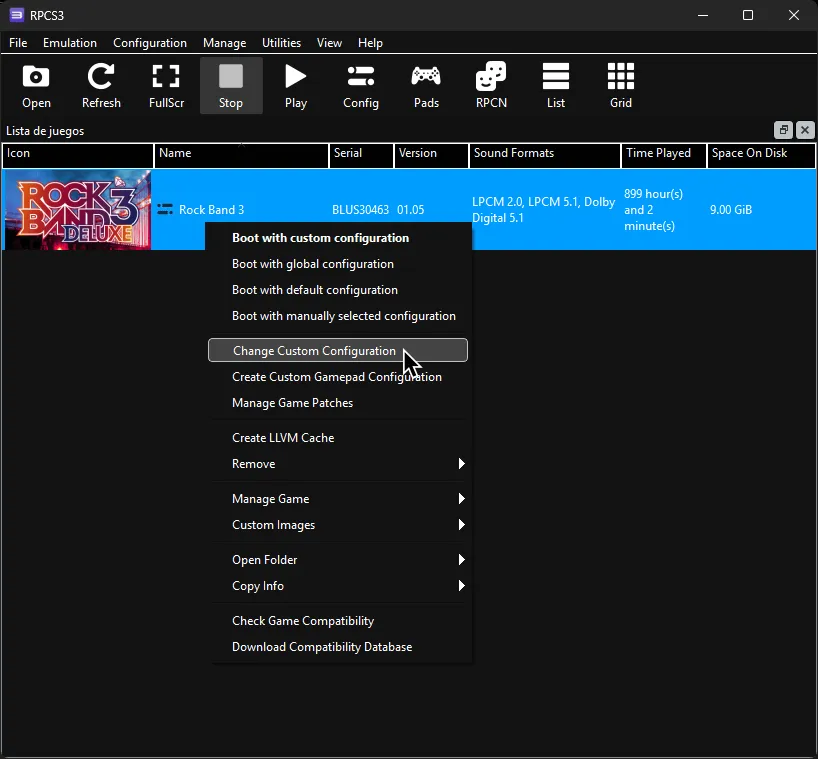
After that, right click on Rock Band 3 in RPCS3, then click on Change Custom Configuration.
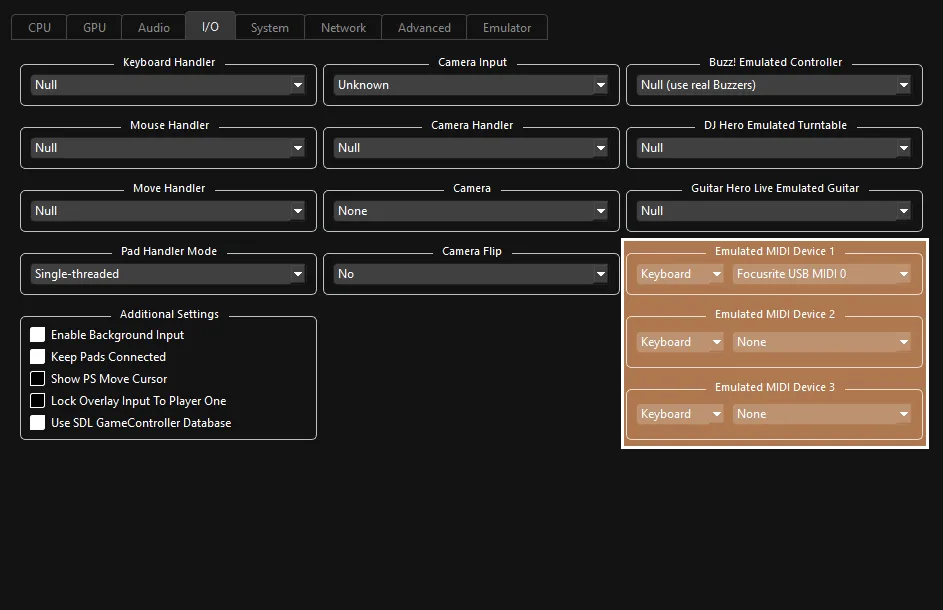
After that, go to the I/O tab.
 :
:
- 🎹 Keyboard Players: Leave your “Emulated MIDI type” on “Keyboard” and select your keyboard or MIDI interface in the drop-down menu next to it.
Mapping
Section titled “Mapping”MIDI Keyboards have fixed bindings and cannot be changed within RPCS3. Since they don’t have PS3 buttons, the first octave is dedicated to PS3 buttons. Use the following image as a reference. It’s recommended to put stickers or some sort of reminder on your keyboard to easily notate the buttons and the ranges.
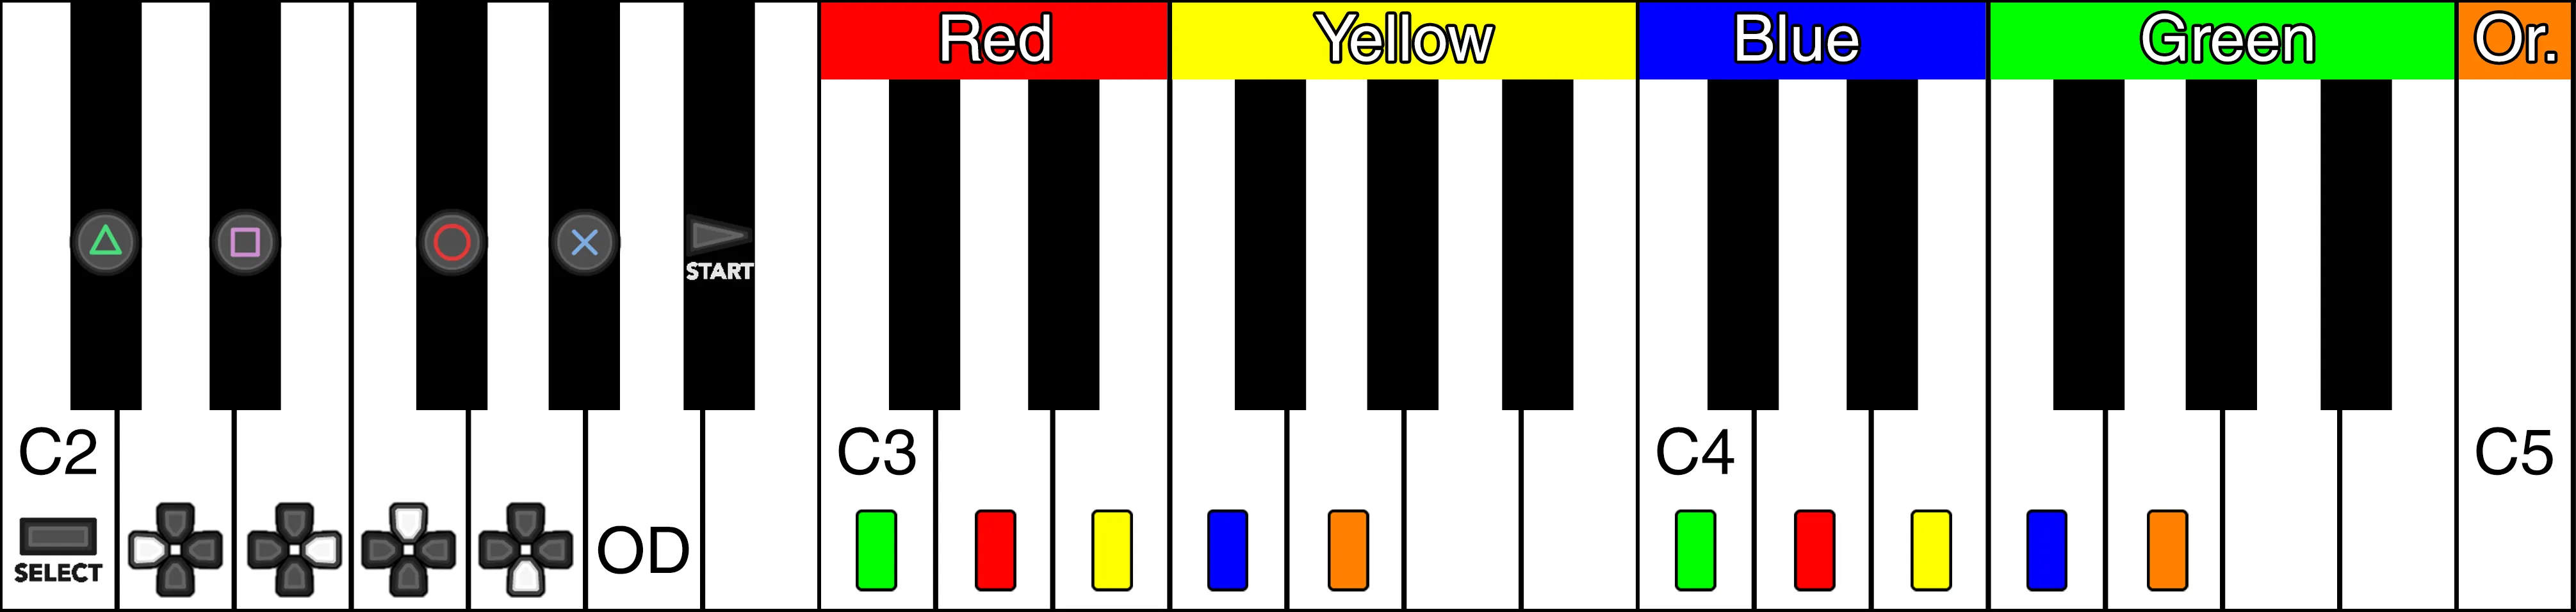
| Note# | Note | Note (Yamaha) | Button |
|---|---|---|---|
| #36 | C2 | C1 |  |
| #38 | D2 | D1 |  |
| #40 | E2 | E1 |  |
| #41 | F2 | F1 |  |
| #43 | G2 | G1 |  |
| #45 | A2 | A1 | Deploy Overdrive |
| #37 | C#2 | C#1 |  |
| #39 | D#2 | D#1 |  |
| #42 | F#2 | F#1 |  |
| #44 | G#2 | G#1 |  |
| #46 | A#2 | A#1 |  |
| Pitch Bend | Pitch Bend | Pitch Bend | Whammy/Touch Strip |
| CC#1 | Modwheel | Modwheel | Deploy Overdrive |
| CC#64 | Sustain | Sustain | Deploy Overdrive |
25 Key Keyboards
Section titled “25 Key Keyboards”Keyboards with less than 25 keys will have to shift octaves when switching between the game keys and the game buttons.

Implementation by [Dark]