

MIDI Drums

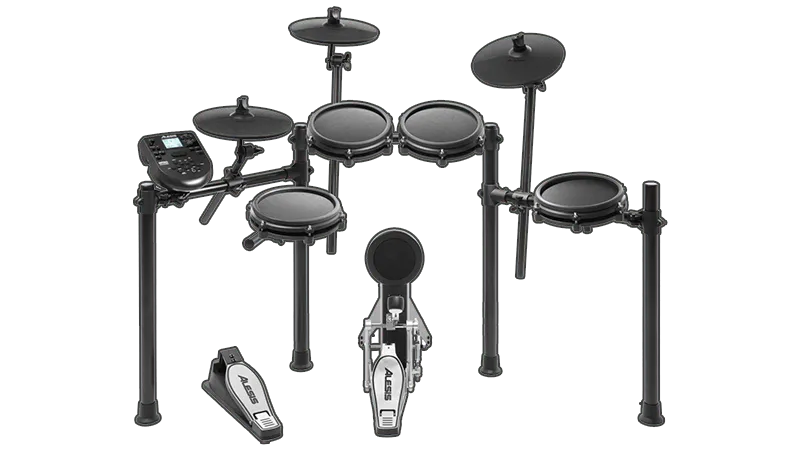
- Your MIDI Drum Kit needs to:
- be set to MIDI Channel 10.
- be set to standard GM mapping.
These should be default settings but consult the manual for your MIDI Drum Kit to make sure.
- You will need to additionally map [a dedicated gamepad for navigation]. You can use a typing keyboard or a gamepad.
- You can enable this in
[Menu] > [Options] > [Deluxe Settings] > [Controller] > [Navigation Pad]
To sign in, you have to close the Hi-Hat Pedal three times then hit the Snare within 2 seconds.
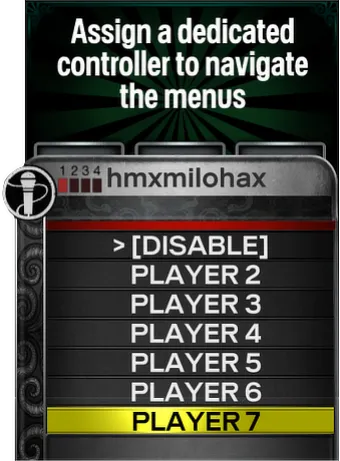
- You can enable this in
Setting Up
Section titled “Setting Up”If your MIDI Drum Kit has a USB port, all you need to do is plug it into your computer.
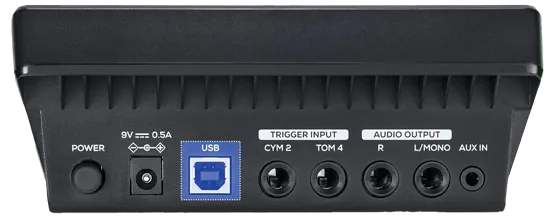
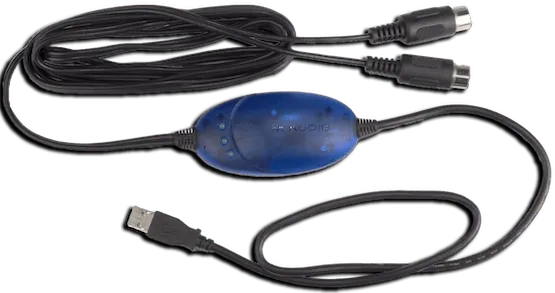
If your MIDI Drum Kit only has a MIDI output, you will need a MIDI to USB interface.
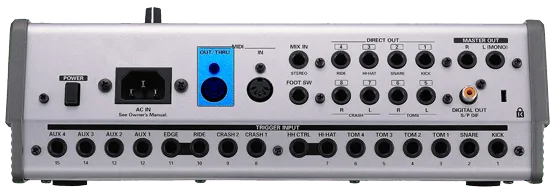
Here’s an example of a MIDI to USB interface. Most will come with an LED indicator to show activity.
To check that you’ve plugged it in correctly, you should see “MIDI In” blinking when you hit a pad.
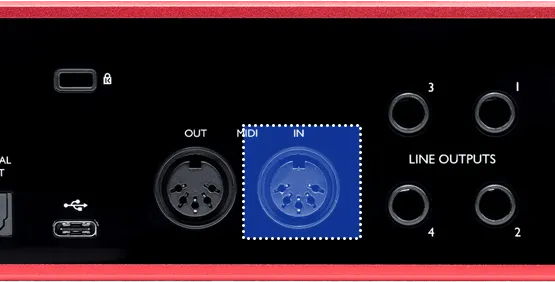
If you have an audio interface, you may already have a way to plug in MIDI to your computer, as some audio interfaces come with MIDI inputs.
For example, this Scarlett has MIDI connections in the back.
Find whichever way is the most convenient for you then connect your MIDI Drum Kit to your computer.
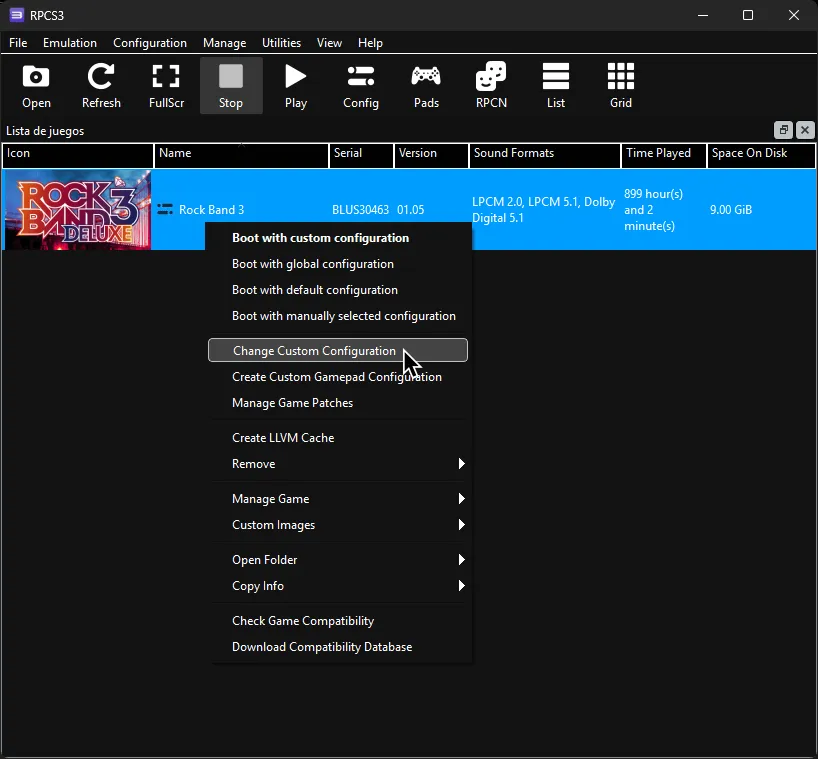
After that, right click on Rock Band 3 in RPCS3, then click on Change Custom Configuration.
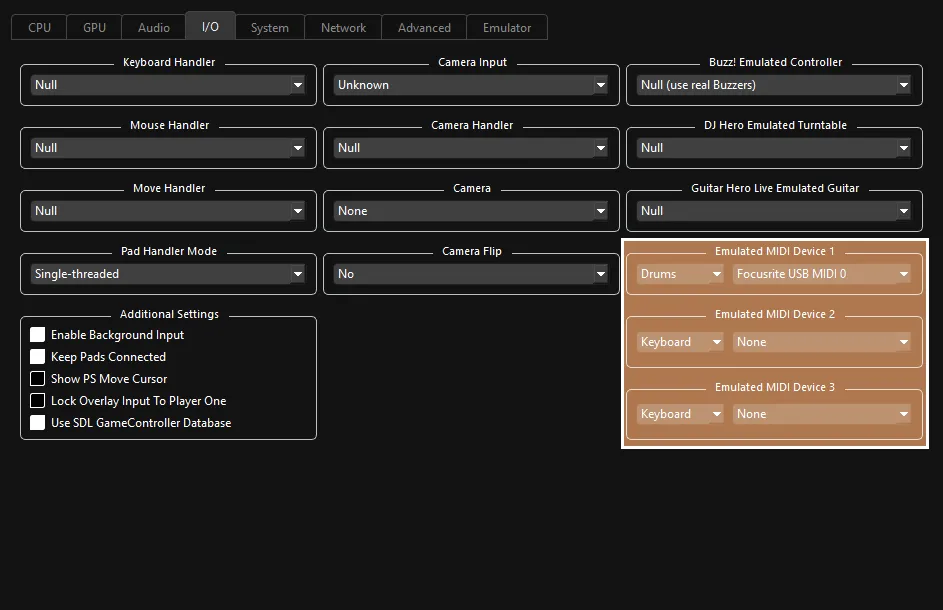
After that, go to the I/O tab.
 :
:
- 🥁 Change your
Emulated MIDI typefromKeyboardtoDrums, then select your MIDI Drum Kit or MIDI to USB interface in the drop-down menu next to it.
- 🥁 Change your
Combos
Section titled “Combos”If you don’t have [a dedicated gamepad for navigation], you can still control most of the game using drum combos.
Do these combos within two seconds to access the following menus:
START: Close Hi-Hat Pedal, Close Hi-Hat Pedal, Close Hi-Hat Pedal, SnareSELECT: Close Hi-Hat Pedal, Close Hi-Hat Pedal, Close Hi-Hat Pedal, Snare Rim- Song select shortcut: Close Hi-Hat Pedal, Close Hi-Hat Pedal, Close Hi-Hat Pedal, Kick
If you want to change these, please refer to the [additional setup section]
MIDI Reference
Section titled “MIDI Reference”| MIDI Note# | Trigger Type | In-Game Action |
|---|---|---|
| 38, 31, 34, 37, 39, 40 | Snare |  |
| 48, 50 | Hi-tom |  |
| 45, 50 | Low-tom |  |
| 41, 43 | Floor-tom |  |
| 22, 26, 42, 46, 54 | Hi-Hat Cymbal |  |
| 51, 53, 56, 59 | Ride Cymbal |  |
| 49, 52, 55, 57 | Crash Cymbal |  |
| 33, 35, 36 | Kick Pedal |  |
| 44 | Hi-Hat Pedal | Hi-Hat Pedal |
| CC#4 (Foot controller) | Hi-Hat Pedal Position | Allows Hi-Hat pedal to be held closed |
Additional Setup
Section titled “Additional Setup”You can adjust a variety of options in the rb3drums.yml file, located within the config folder inside your RPCS3 installation folder.
Below are the defaults and what each option does. You will have to reboot the game to apply the settings.
| Setting | Description |
|---|---|
Pulse width ms: 30 |
How long each drum pad hit is “held” for. You should leave this alone. |
Minimum velocity: 10 |
The minimum velocity (how hard a pad is hit) needed for a signal to be sent. Anything below this number will not send a signal. |
Combo window in milliseconds: 2000 |
Determines how long you have to press the Combos for Start, Select, and Kick Hold. Values are in milliseconds. Read [Combos] for more information. |
Stagger cymbal hits: true |
If you hit two cymbals at the same time, one will be delayed by the “Pulse width ms” above. You should leave this alone. |
Midi id to note override: "" |
Allows you to remap what each MIDI note does. Read [Remapping] for more information. |
Combo Start: HihatPedal,HihatPedal,HihatPedal,Snare |
Defines what combo will trigger the Start button. Read [Combos] for more information. |
Combo Select: HihatPedal,HihatPedal,HihatPedal,SnareRim |
Defines what combo will trigger the Select button. Read [Combos] for more information. |
Combo Toggle Hold Kick: HihatPedal,HihatPedal,HihatPedal,Kick |
Defines what combo will trigger the Hold Kick action, for library navigation. Read [Combos] for more information. |
Midi CC status: 176 |
Defines the status byte. Can be notated as 0xB0 as well.You should leave this alone. |
Midi CC control number: 4 |
Defines the number of the Continuous Controller (CC), which acts as the hi-hat pedal. You should leave this alone. |
Midi CC threshold: 64 |
Defines the middle point the hi-pedal pedal goes from closed to open. |
Midi CC invert threshold: false |
Inverts the range for the hi-hat pedal, mentioned above. |
Remapping
Section titled “Remapping”If your MIDI Drum Kit has incompatible mapping, you can remap using Midi id to note override: "" with the corrected notes.
- To do this:
- Go to [MIDI Monitor]
- Play the pad you want to replace to find its MIDI Note number (
Note #[number]).
The file uses the following note names:
Kick
HihatPedal
Snare
SnareRim
HiTom
LowTom
FloorTom
HihatWithPedalUp
Hihat
Ride
Crash
Examples of common replacements:
- Blue cymbal is mapped to
Note #51and Green cymbals is mapped toNote #49and your kit has these reversed.Midi id to note override: "49=Ride,51=Crash"will reverse them to be closer to the game’s layout
- You want to map Open Hi-Hat to Blue cymbal.
Midi id to note override: "46=Ride"