

PlayStation 3 Rock Band Wireless Keyboard

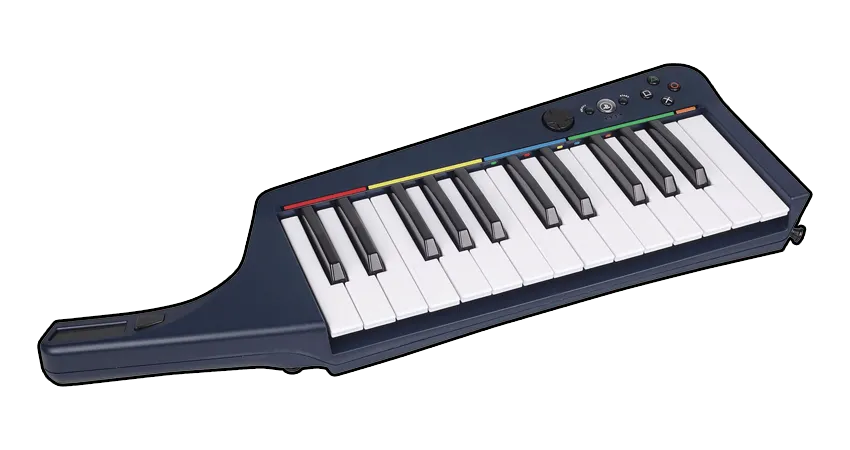
Instructions
Section titled “Instructions”There are two different ways to connect this keyboard. If you don’t have the Rock Band Keyboard Receiver for PlayStation 3, you will need to use MIDI to USB.
Pick whichever is the most convenient for you:
This is the recommended method because the keyboard will work as expected.
You will need:
- a PlayStation 3 Wireless Keyboard Receiver to connect to your computer.
FCC ID:
P25M797161Y2310R
Installing
Section titled “Installing”-
First, [go to Zadig’s website] and download the latest version, then open it up.
-
Click on
OptionsthenList All Devices.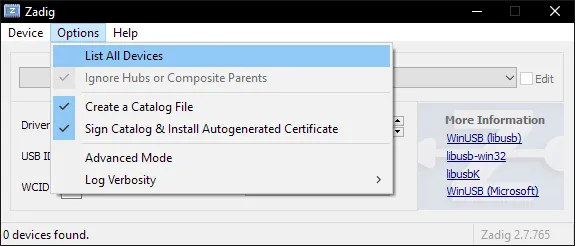
-
You should now see devices listed. Switch it to your RB3 Keyboard for PS3.
In this example, we’re using the Mustang Pro Guitar, which shows up asHarmonix RB3 Mustang Guitar for PlayStation® 3.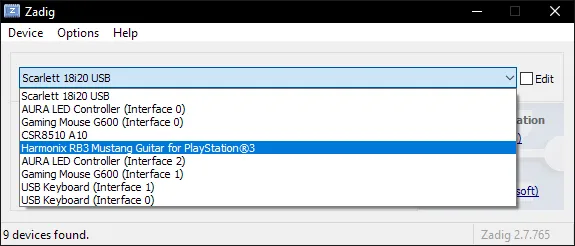
-
After selecting the right device, you should see the option to replace the driver.
MAKE SURE YOU ARE REPLACING THE DRIVER ONLY FOR YOUR KEYBOARD!!
ClickReplace Driver.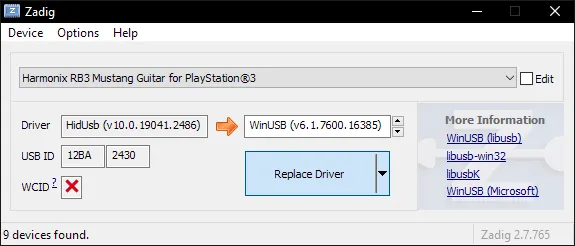
-
A warning will appear.
Again, make sure you have selected your RB3 Keyboard for PS3.
After you have made sure, clickYes.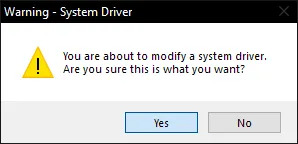
-
It will then install the driver. As the program says, it may take a few minutes.
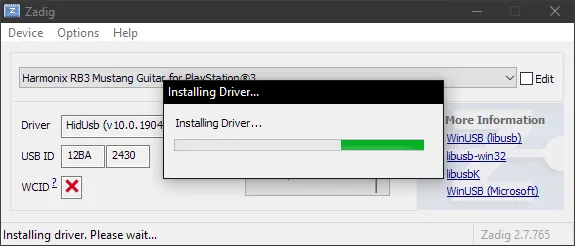
-
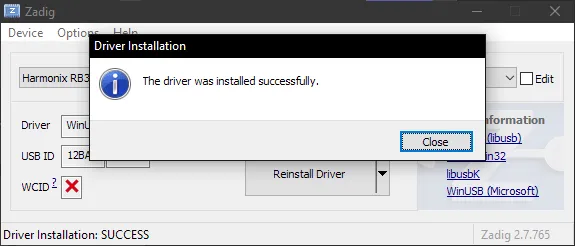
If everything goes well, you will get this message:
-
Close Zadig.
-
Open up Rock Band 3 in RPCS3 and connect the receiver for your RB3 Keyboard for PS3.
You should see it automatically assign a player number.
Likewise, in Rock Band 3, you will see the instrument ready to join.
Uninstalling
Applying a Zadig driver on your RB3 Keyboard for PS3 will make it only work on applications with passthrough. This may cause issues with Clone Hero or YARG.Thankfully, reverting this is very easy!
-
Open the Start menu and search for
Device Manager. Open it.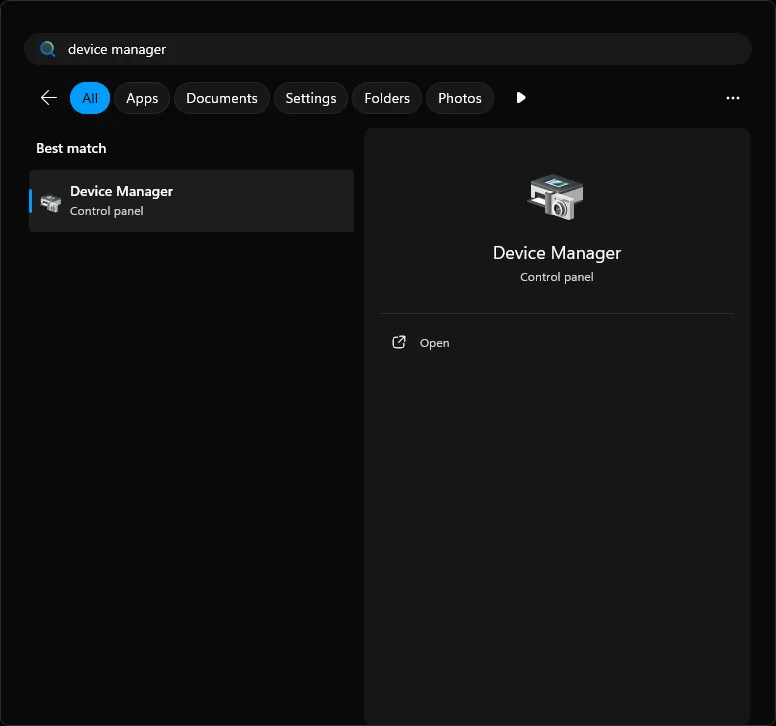
-
Scroll down until you find the
Universal Serial Bus devicescategory.
Expand it and right click on your RB3 Keyboard for PS3 you applied the Zadig driver on and then selectUninstall device.
In this example, it’s the Pro Guitar (Harmonix RB3 Mustang Guitar for PlayStation® 3).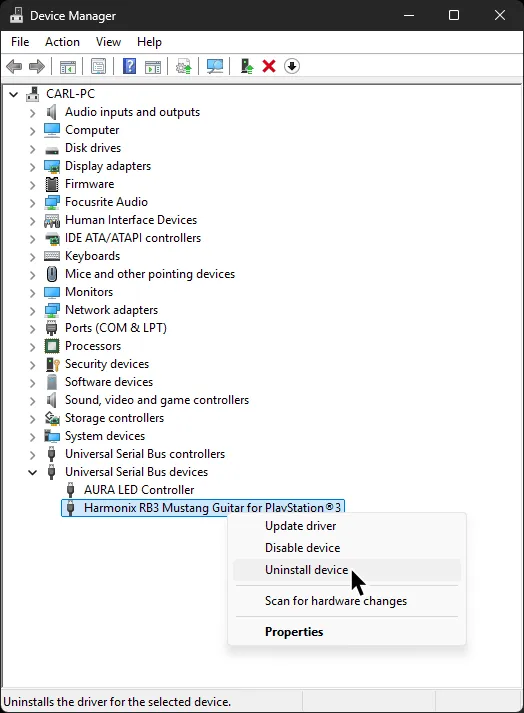
-
In the next window that pops up, make sure to tick
Attempt to remove the driver for this device.
After that, clickUninstalland that’s it!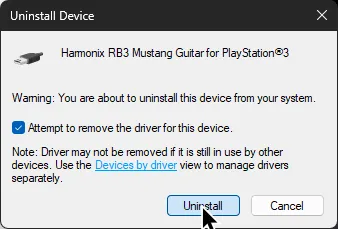
When you disconnect then reconnect the receiver for your RB3 Keyboard for PS3, it will revert back to the original driver.
-
Navigate to
/etc/udev/in your file browser.
Enter therules.dfolder.
If it doesn’t exist, make it.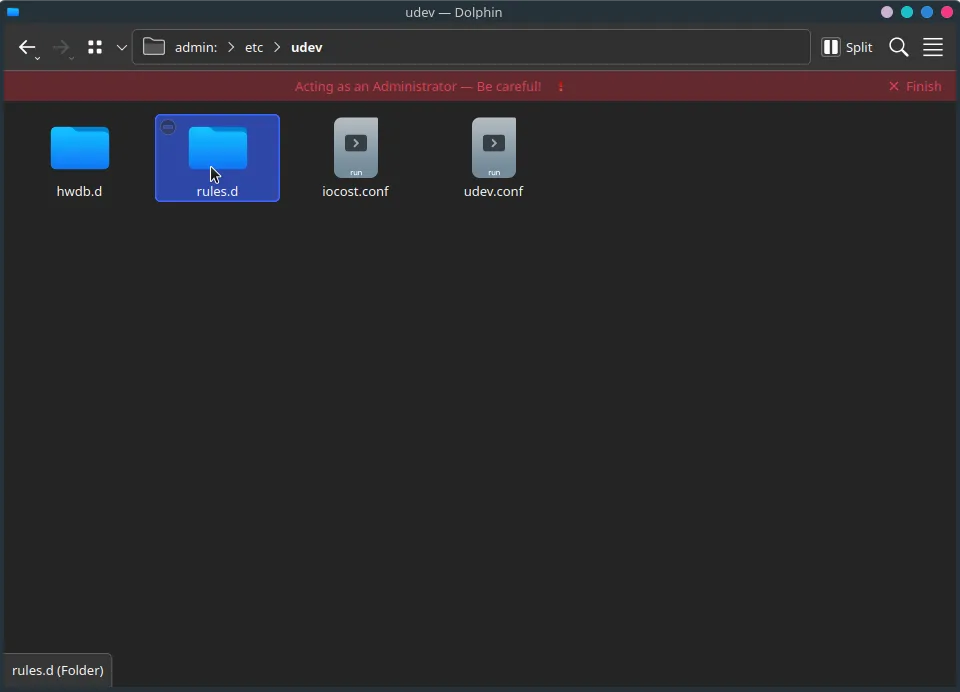
-
Create a new file.
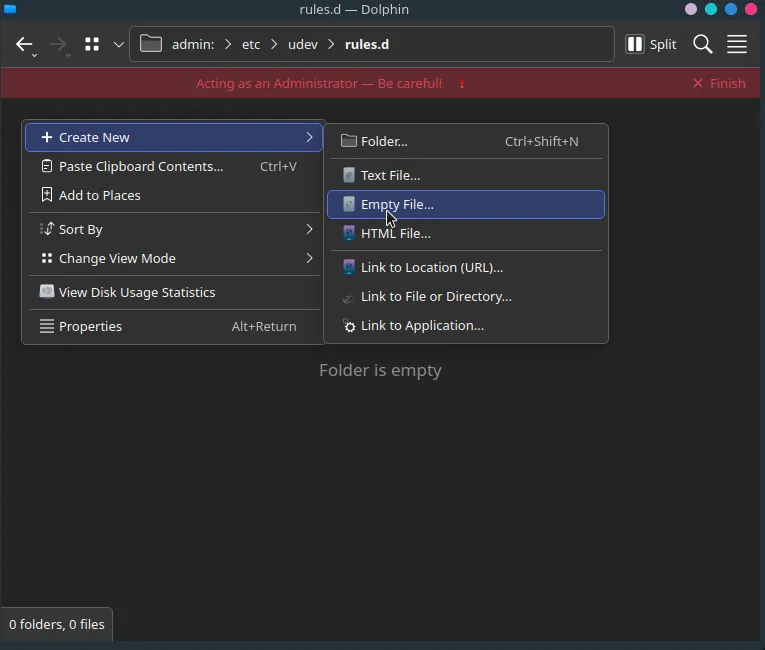
Name it
99-ps3-peripherals.rules.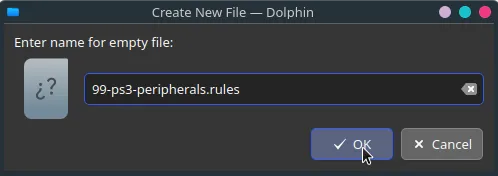
-
Open the file in a text editor.
Add an entry for your RB3 Keyboard for PS3:SUBSYSTEM=="usb", ATTRS{idVendor}=="12ba", ATTRS{idProduct}=="2330", MODE="0666"In the example below, a PS3 Mustang and PS3 Keyboard are being added.
When you’re done, save your edits to the file.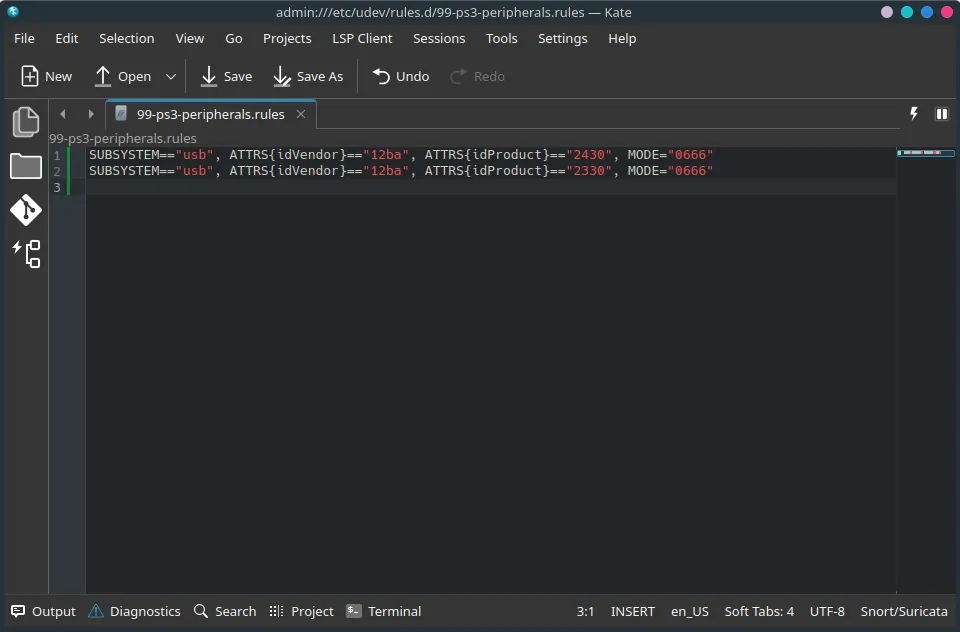
-
Run
sudo udevadm control --reload-rulesin a terminal or reboot your system.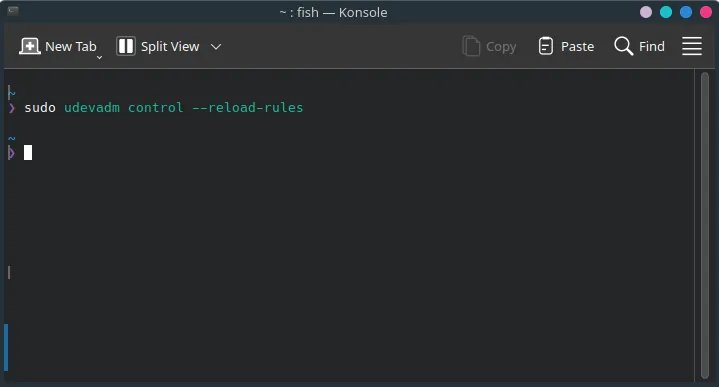
-
Disconnect the receiver for your RB3 Keyboard for PS3.
-
Open up Rock Band 3 in RPCS3 and connect the receiver for your RB3 Keyboard for PS3.
You should see it automatically assign a player number.
Likewise, in Rock Band 3, you will see your RB3 Keyboard for PS3 ready to join.
By default, macOS will attempt to load its own drivers when trying to use passthrough instruments on RPCS3.
Luckily, this is easy to fix!
-
First, [click here download the GCAdapterDriver 1.8 beta]
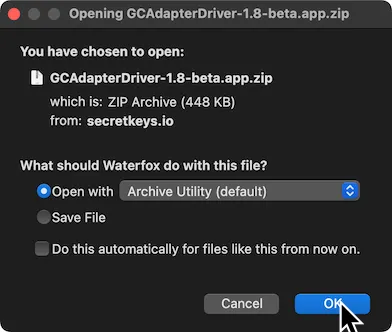
-
Drag the extracted
GCAdapterDriver-1.8-betaapplication to theApplicationsfolder.
-
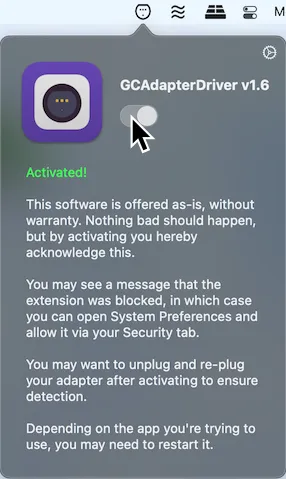
In the menu bar, click on the new GCAdapterDriver icon.
Click on the slider to try to activate it.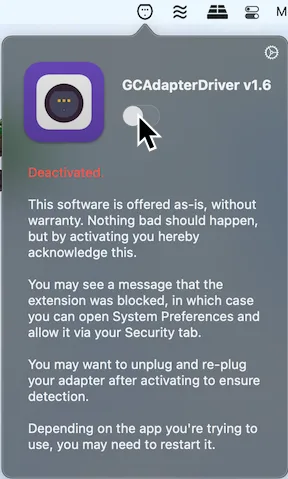
-
It will initially block the system extension.
Click onOpen Security Preferences.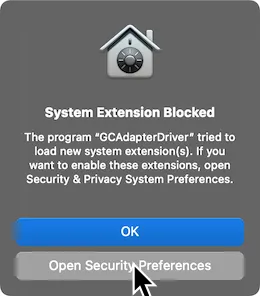
-
Unlock the page by click on the lock icon on the bottom left.
Click onAllowafter this.
Don’t forget to lock the page again when you’re done.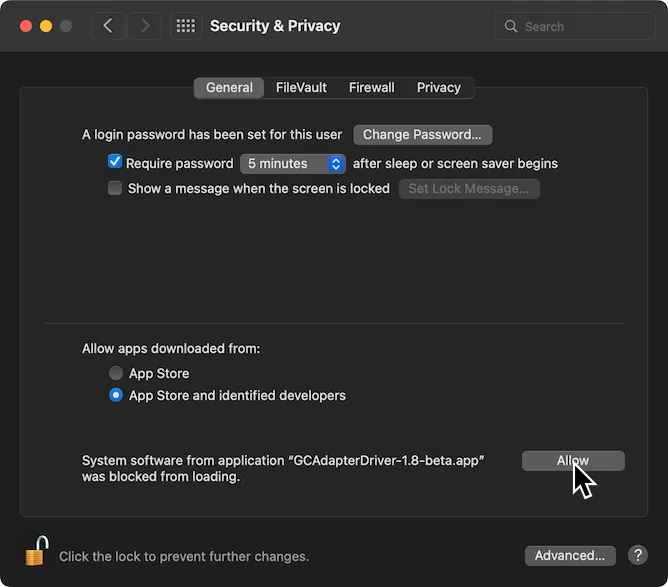
-
Now, activate GCAdapterDriver’s slider in the menu bar now.
Open up Rock Band 3 in RPCS3 and connect the receiver for your RB3 Keyboard for PS3.
You should see it automatically assign a player number.
Likewise, in Rock Band 3, you will see your RB3 Keyboard for PS3 ready to join.
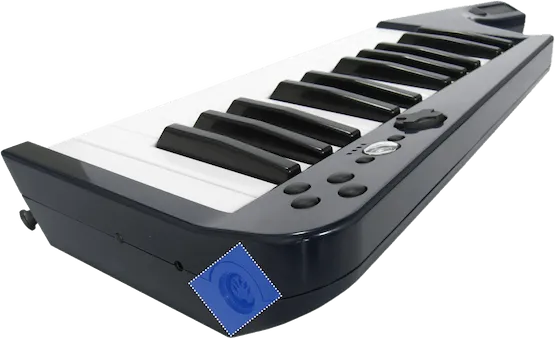
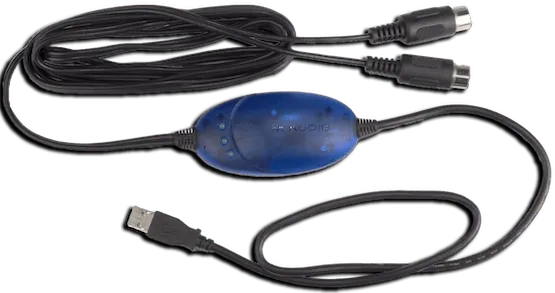
For this, you will need a MIDI to USB interface.
Here’s an example of a MIDI to USB interface. Most will come with an LED indicator to show activity. To check that you’ve plugged it in correctly, you should see “MIDI In” blinking when you press a key.
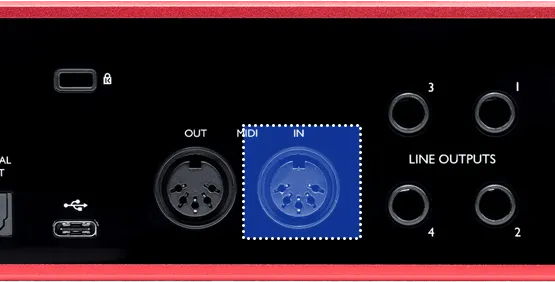
If you have an audio interface, you may already have a way to plug in MIDI to your computer, as some audio interfaces come with MIDI inputs. For example, this Scarlett has MIDI connections in the back.
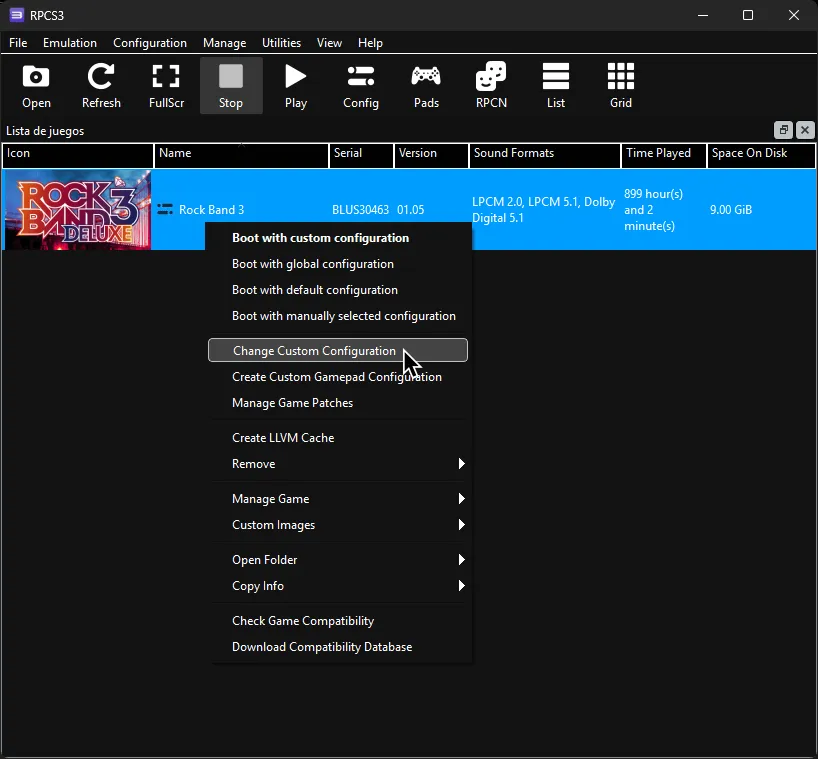
After that, right click on Rock Band 3 in RPCS3, then click on Change Custom Configuration.
After that, go to the I/O tab.
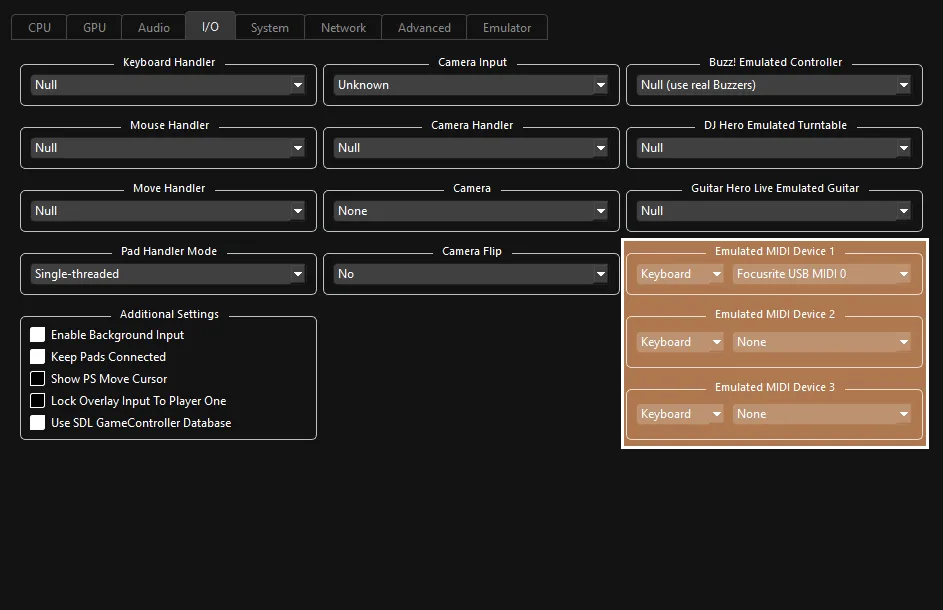
 :
:
- 🎹 Leave your
Emulated MIDI typeonKeyboardand select your MIDI interface in the drop-down menu next to it.
- 🎹 Leave your
Additional Information
Section titled “Additional Information”Since you can’t use the buttons on the keyboard to control the game, you will need to map [a dedicated gamepad for navigation]. You can use a typing keyboard or a gamepad.
- You can enable this in
[Menu] > [Options] > [Deluxe Settings] > [Controller] > [Navigation Pad]
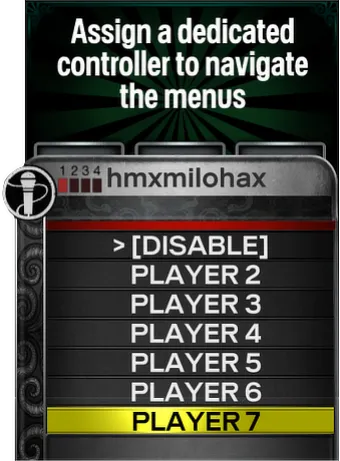

To sign in on a 25 key keyboard, you need to lower the octave with Square and press the A♯2 key. After that, raise your octave back up with Circle.
Research by [Linos]