
Deleting songs
Rock Band 3 can delete songs in-game. However, if a song is part of a pack, it’ll delete that entire pack as well.

The best way to remove songs from your library is through Nautilus’ File Indexer.
-
Open Nautilus and select
File Indexer.
-
Click on
Add New Folder.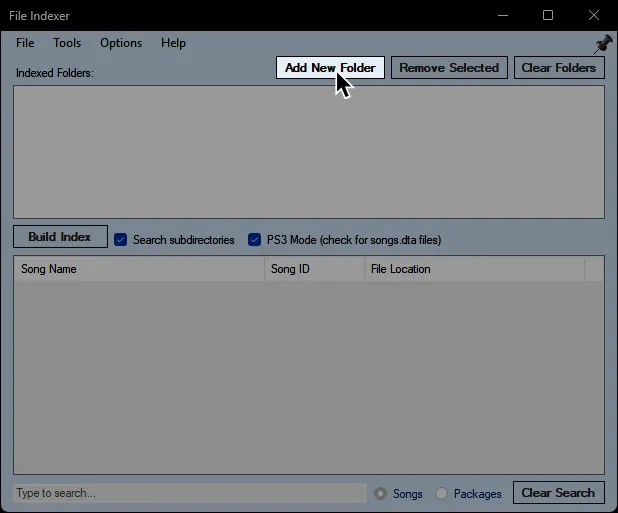
-
Go to where your Rock Band game data folders are.
This will bedev_hdd0\game\BLUS30463\for Rock Band 3 content and usuallydev_hdd0\game\BLUS30050\for Rock Band 1/2 content.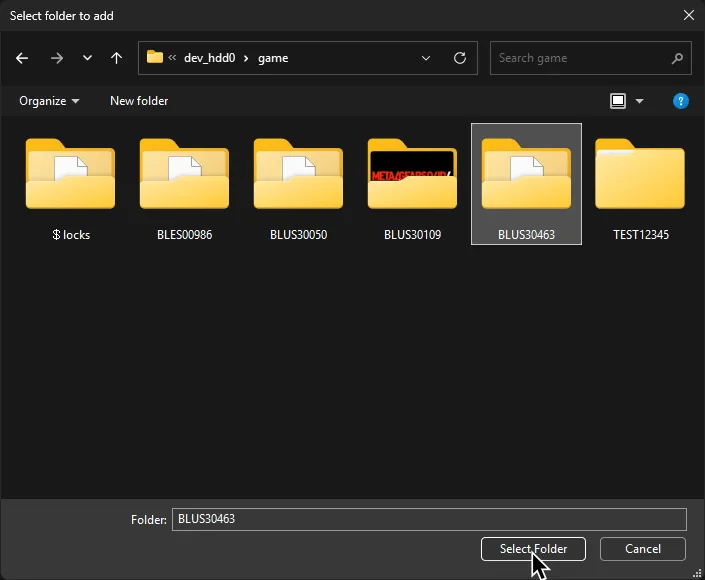
-
Enable
PS3 Mode (check for songs.dta files)in the middle then click onBuild Index.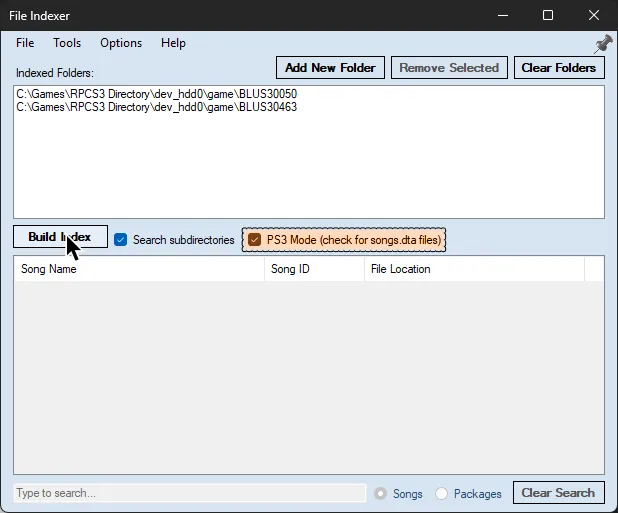
-
Click
Yeson the warning. As it says, it may take a while to scan.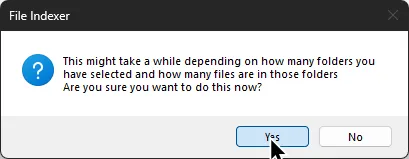
-
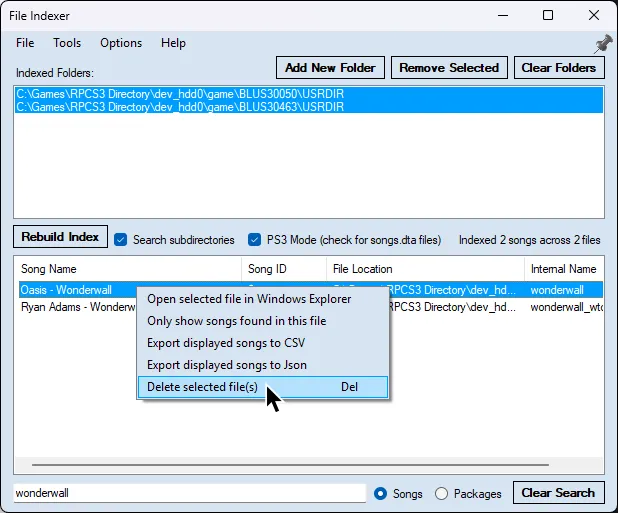
Find the song you want to delete, right click it, then select
Delete selected file(s). Alternatively, you can press theDeletekey on your keyboard.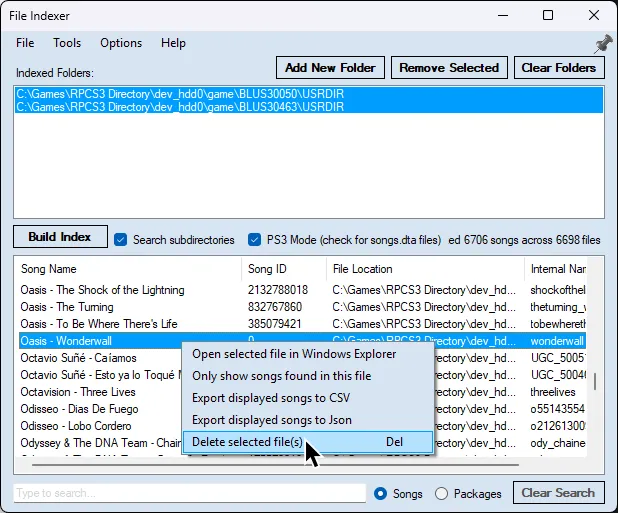
You can also quickly find the song by typing in the name at the bottom left.