
Finding hidden songs
Over time, you may end up with a few songs that don’t show. This will mostly occur when installing multiple packs that share the same songs.

Rock Band 3 showing a song library that has 5 songs missing.
You can use Nautilus to help solve this problem.
-
Open Nautilus and select
File Indexer.
-
Click on
Add New Folder.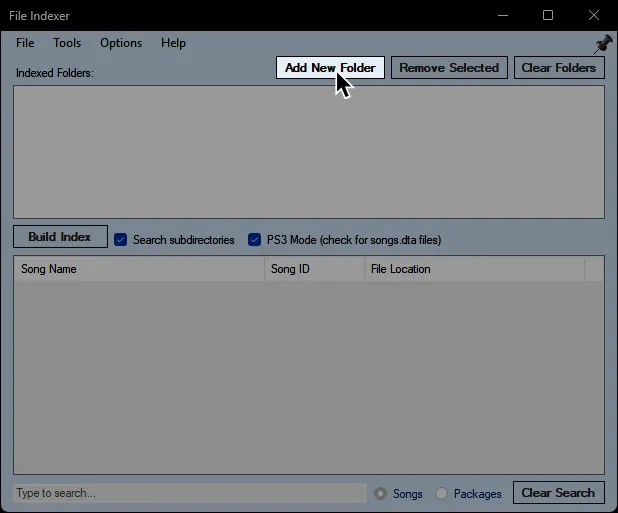
-
Go to where your Rock Band game data folders are.
This will bedev_hdd0\game\BLUS30463\for Rock Band 3 content and usuallydev_hdd0\game\BLUS30050\for Rock Band 1/2 content.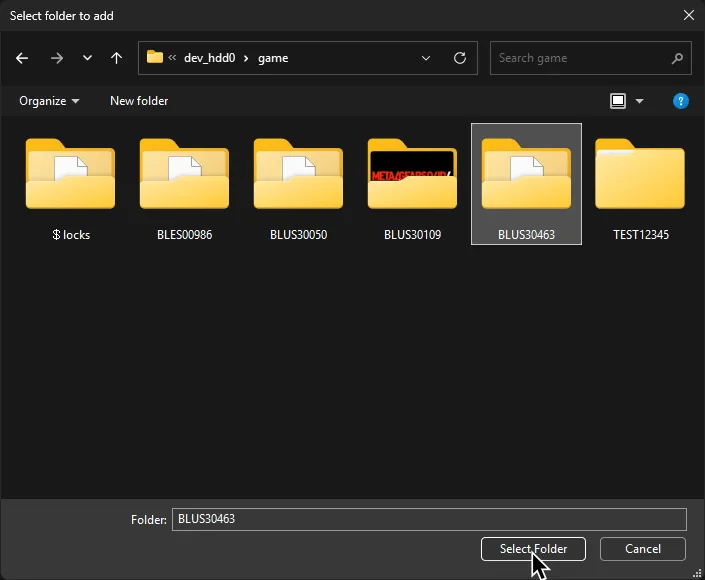
-
Enable
PS3 Mode (check for songs.dta files)in the middle then click onBuild Index.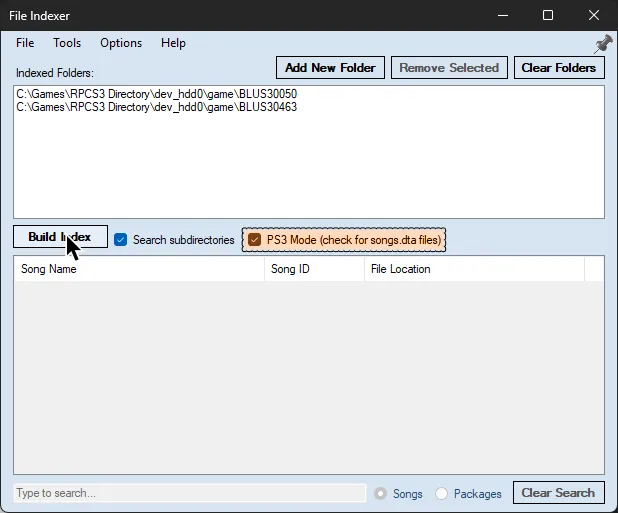
-
Click
Yeson the warning. As it says, it may take a while to scan.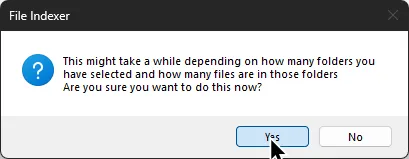
-
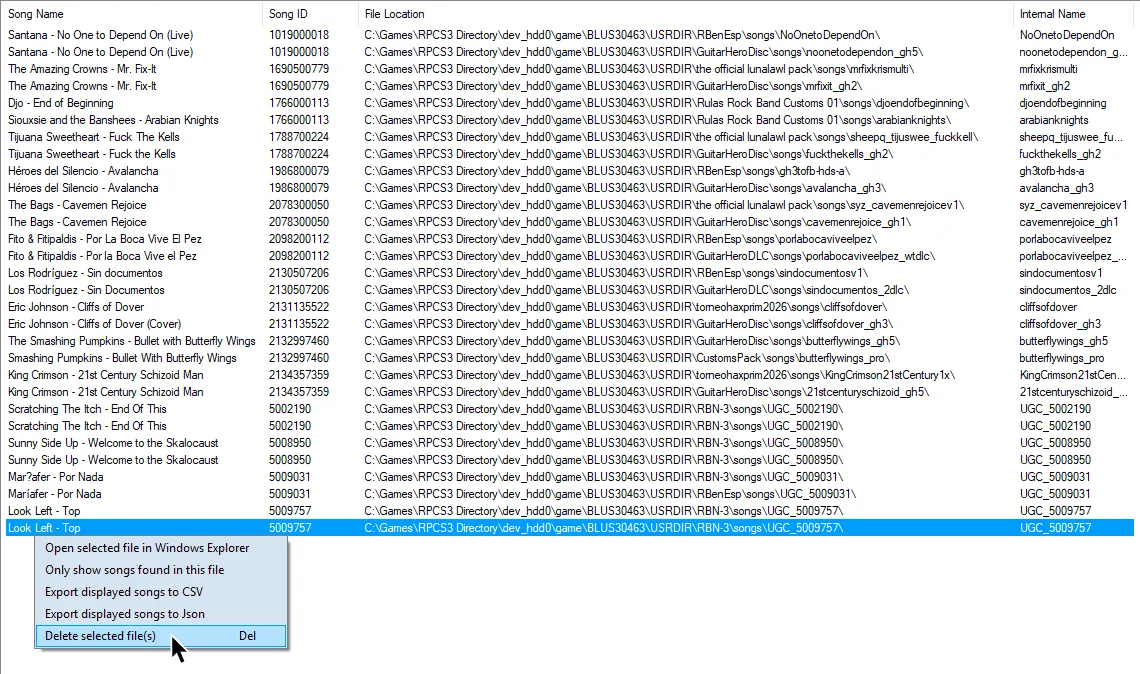
After it finishes scanning, click on
Toolsat the top, then enableFind songs with ID conflicts.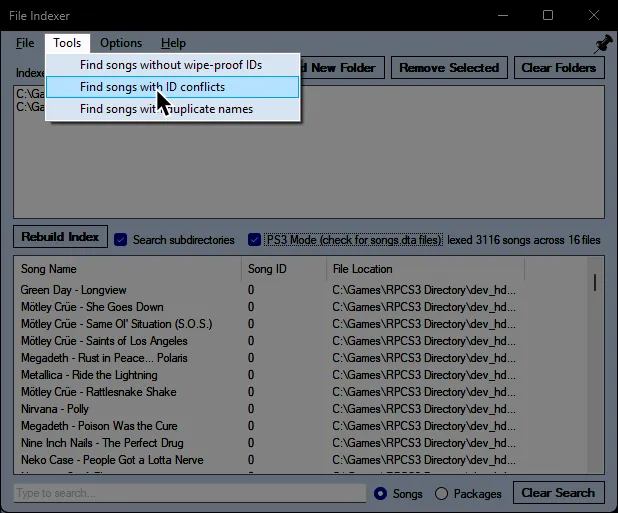
-
The list at the bottom will now show you songs that have conflicts, usually caused by installing the same song.
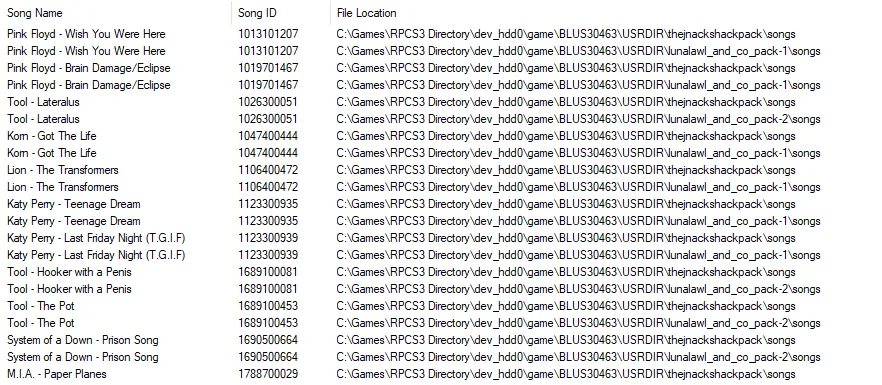
-
Right click the song (or songs) you want to delete. Alternatively, you can press the
Deletekey on your keyboard.