

Move Game Files
If Rock Band 3’s files are taking up too much space on your main drive, you can move them to a different drive while keeping RPCS3 itself on your main drive.
Make sure RPCS3 is closed before starting this.
-
First, create a folder where all of this stuff will be moved to.
The folder will be namedRPCS3 Directoryin this tutorial.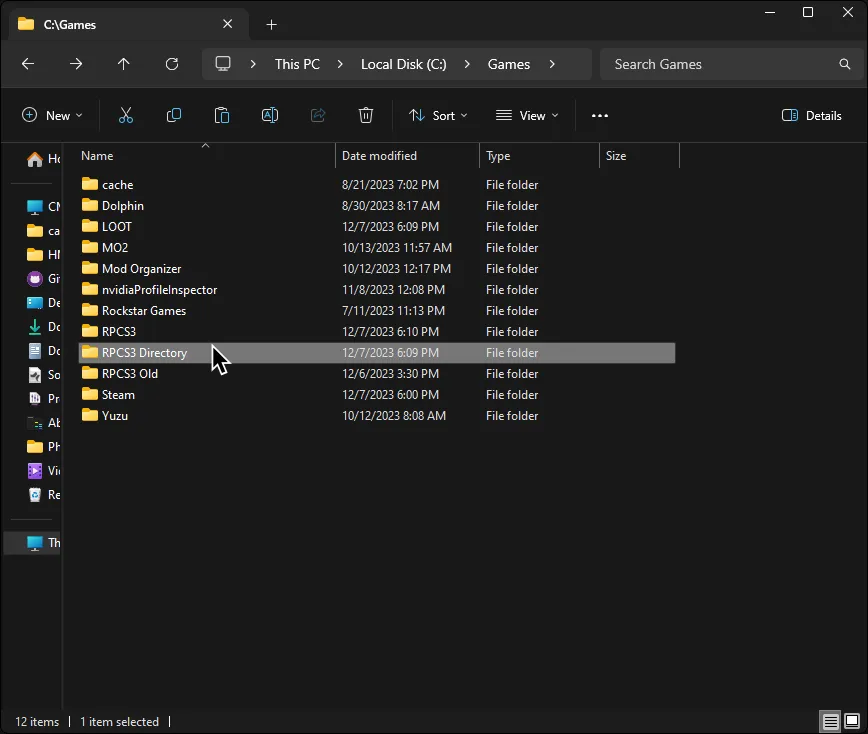
-
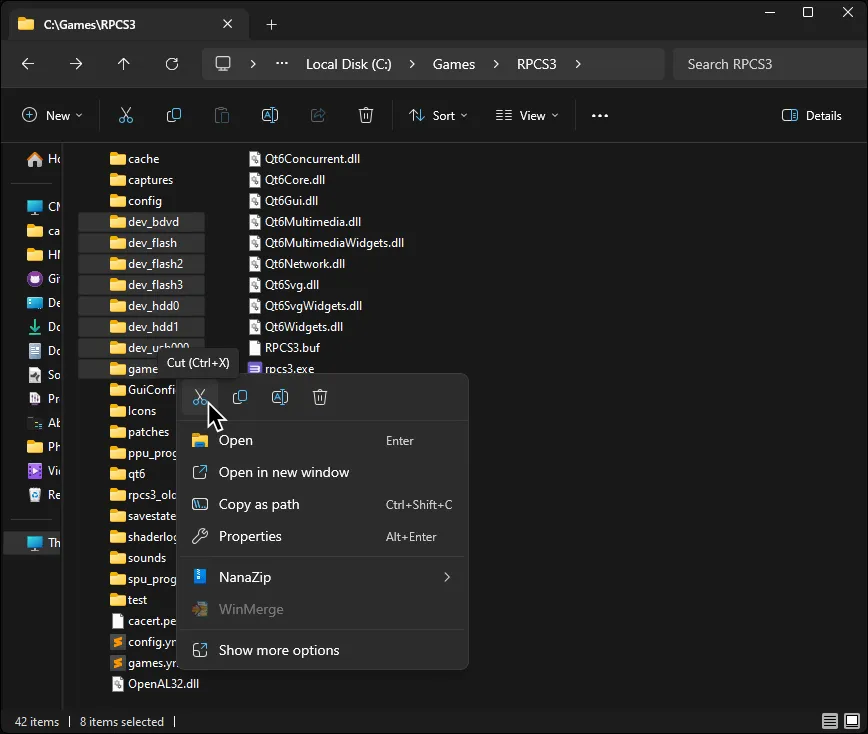
Back in the folder RPCS3 is in, cut the following folders:
dev_bdvddev_flashdev_flash2dev_flash3dev_hdd0dev_hdd1dev_usb000games
-
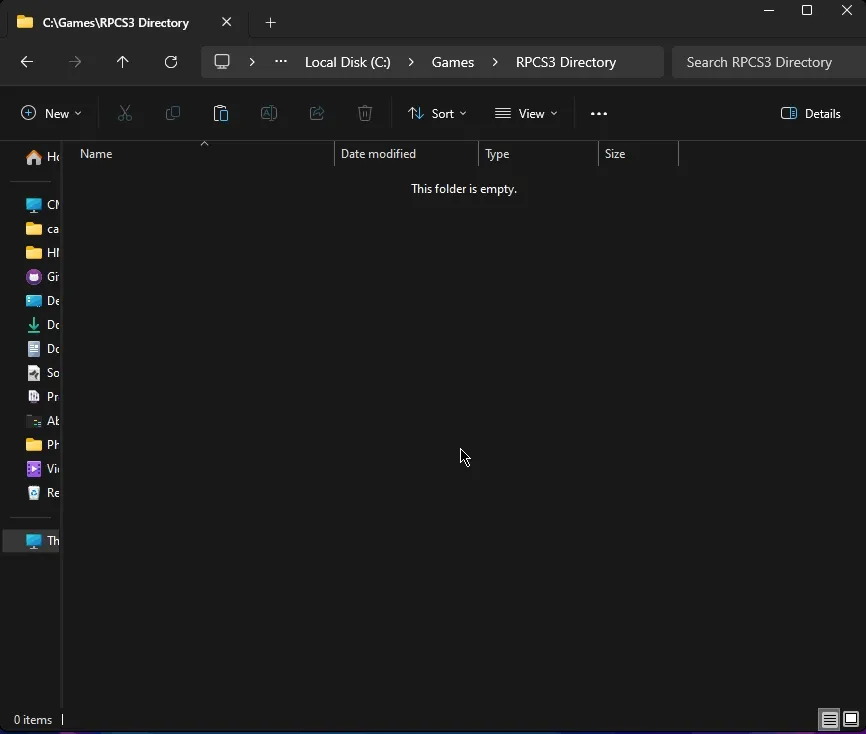
Paste them into the folder you created.
-
When it finishes pasting, reopen RPCS3 then click on
Manage > Virtual File System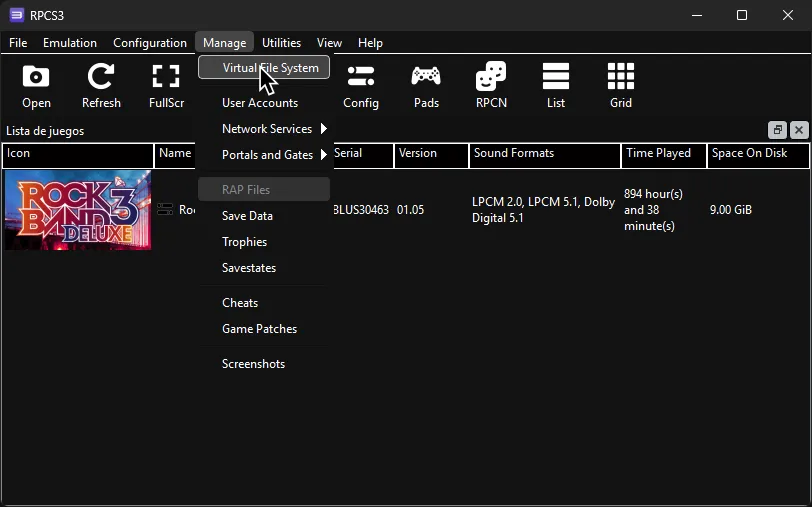
-
In the
Virtual File Systemwindow, click on the+symbol near the bottom right.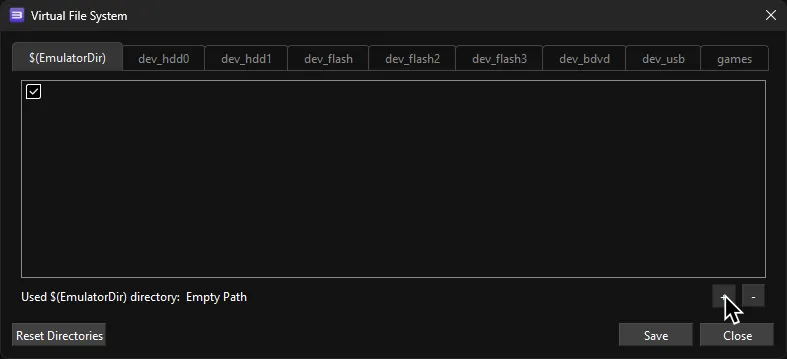
-
Go to the folder you created, click on it, and then click on
Select Folder.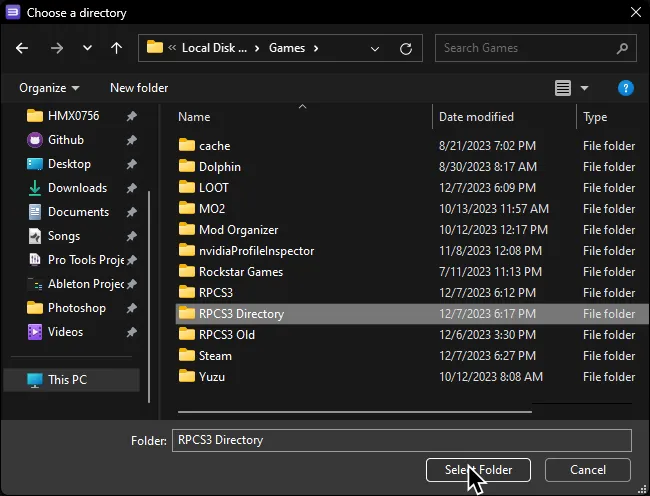
-
Finally, enable the new folder with the checkmark then click
Save.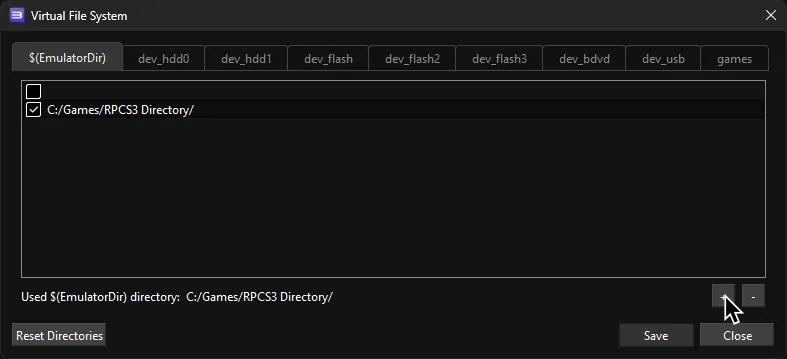
That’s it! RPCS3 will now use this folder.