
RPCN - Getting Started
Before hopping online, you need to create an RPCN account. RPCN is RPCS3’s equivalent of PSN (PlayStation Network.)
We’ll be going over how to create an RPCN account and manage friends on it.
-
Click on the
RPCNbutton: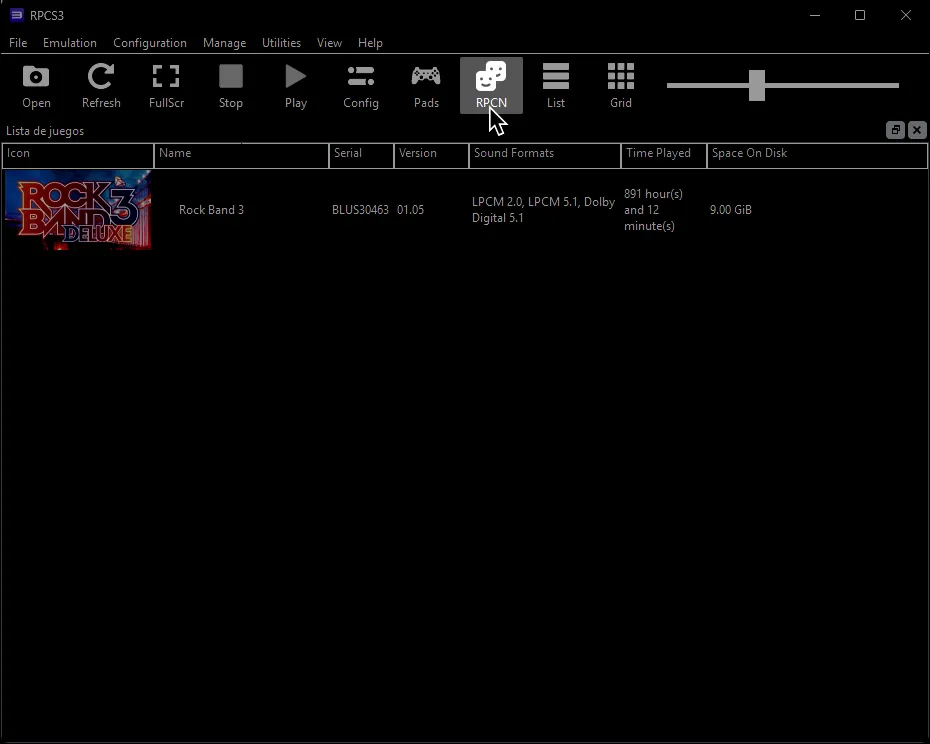
-
Click on
Account: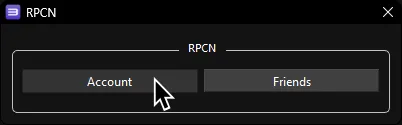
-
Click
Create Account: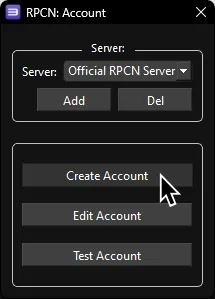
-
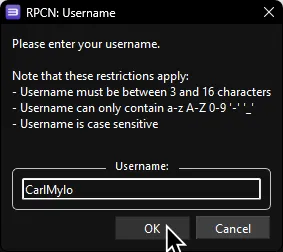
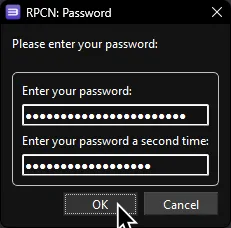
Enter a username and password:
-
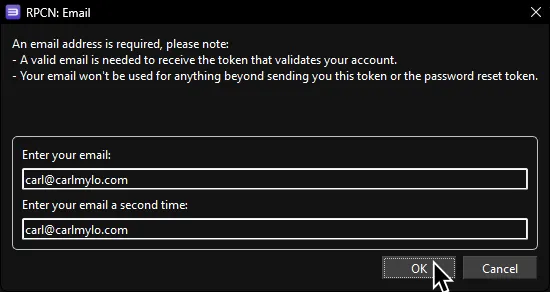
You will be prompted for an email address so you can receive a verification token:
-
Next, you will be asked to confirm your account’s creation. Click
Yes.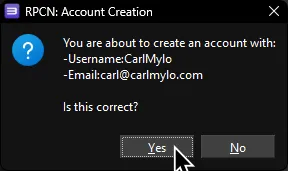
-
Now go to your email inbox to check for your verification token. The email will be called “Your token for RPCN”.
You may have to wait a few minutes to get it. If you’re still waiting, check your spam inbox.
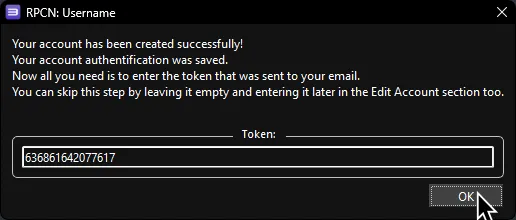
Copy the token: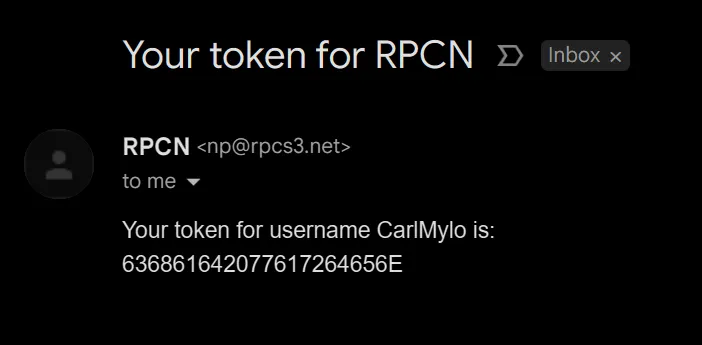
-
Paste the token into RPCS3 and click
OK.