
Setting up Microphones
Ready to sing? RPCS3 lets you set up to 3 microphones to sing with.
Just about any microphone can be used to sing.
To get started setting up microphones, make sure Rock Band 3 isn’t running.
[Also, make sure you have installed a Quick Configuration Profile from the previous page].
-
Right click on Rock Band 3 in RPCS3, then click
Change Custom Configuration.
-
Switch to the
Audiotab.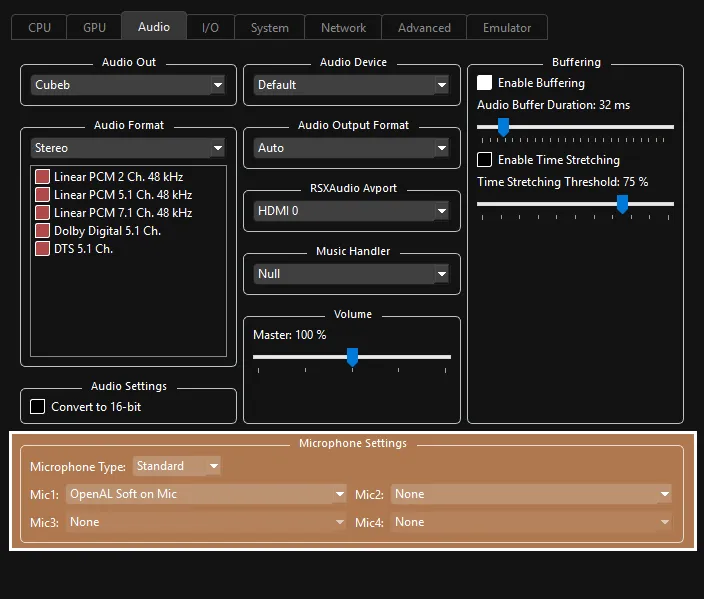
-
 To set microphones up:
- Set
Microphone TypetoStandard. - Select an input device in
Mic1,Mic2, andMic3.
- Set
-
When you’re done, click
ApplythenSave custom configuration.
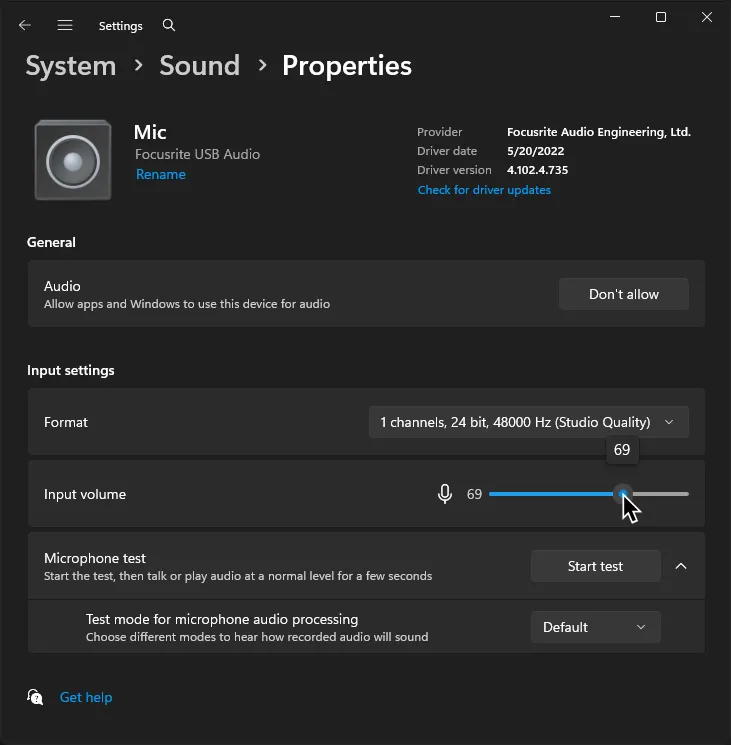
Adjusting microphone volume
If the game is having issues detecting your voice, try adjusting the mic levels in Windows.
Rock Band 3 requires a microphone volume that isn’t too loud nor too quiet.
- Right click on speaker icon in the bottom right of Windows’ taskbar and click on
Sound settings.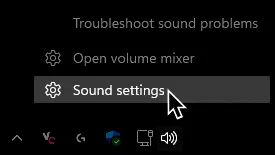
- Scroll down to the
Inputsection and click on the microphone having issues with levels.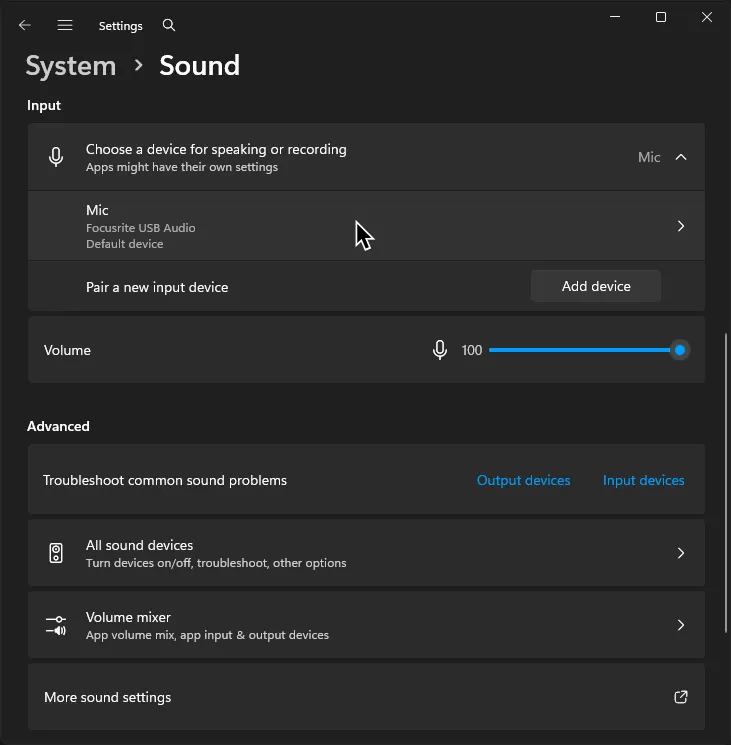
- Adjust the
Input volumeslider until detection improves.