

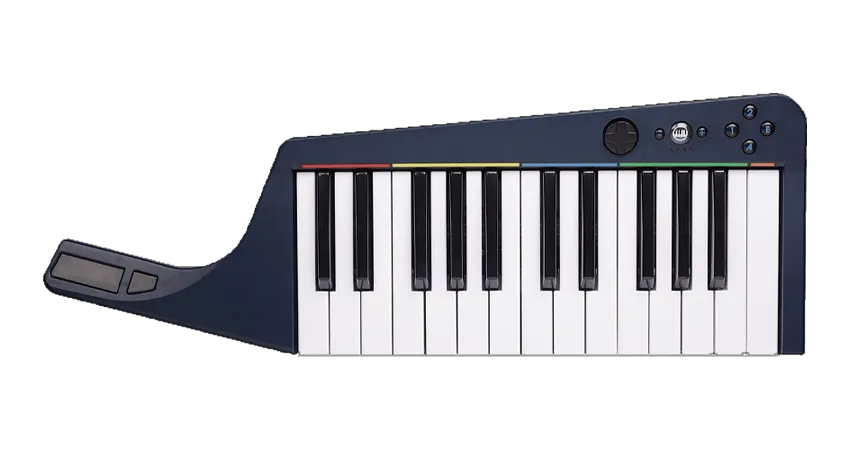
Nintendo Wii Rock Band Wireless Keyboard

Instructions
Section titled “Instructions”There are two different ways to connect this keyboard. If you don’t have the Rock Band Keyboard Receiver for Nintendo Wii, you will need to use MIDI to USB.
Pick whichever is the most convenient for you:
This is the recommended method because the keyboard will work as expected.
You will need:
-
a Santroller based adapter to connect to your computer.
 Need one?
 -
an Nintendo Wii Wireless Keyboard Receiver to connect to the Santroller based adapter.

Connect the Nintendo Wii Wireless Keyboard Receiver to your Santroller based adapter, then connect the Santroller based adapter to your computer.
Be sure to [download the latest version of Santroller].
After that, start up Santroller.
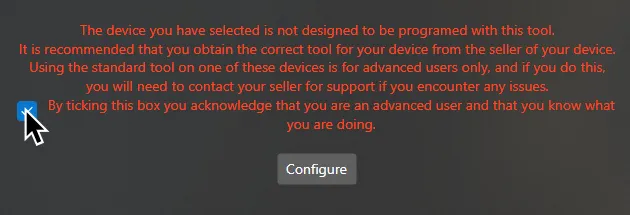
If you’re using a premade adapter (like the RetroCultMods MiniHost), you may receive a warning from Santroller in the start screen.
All this means is that you can’t ask for support on the official Santroller Discord.
You can tick the checkbox and focus on the rest of the configuration.
Select your Device to program, Connection Method, and Device to Emulate.
This will usually be Raspberry Pi Pico, USB Adapter, and Pro Keys respectively.
After selecting your options, click on Configure.

In Controller Settings, change the following:
- Set
Device to EmulatetoPro Keys - Enable
Use USB Passthrough with RPCS3

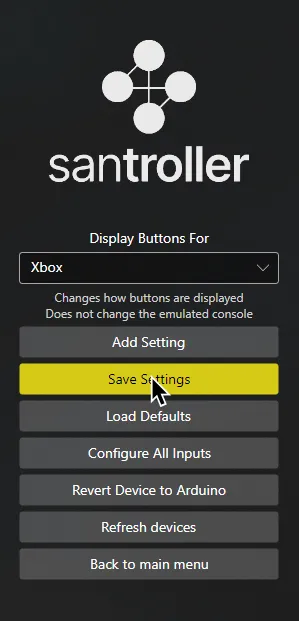
MAKE SURE YOU CLICK ON Save Settings before closing the program or you will lose progress!
When you’re done, close Santroller.
You can now launch Rock Band 3 and don’t need to touch this anymore!
You will need to connect to your keyboard via the MIDI port on the side.

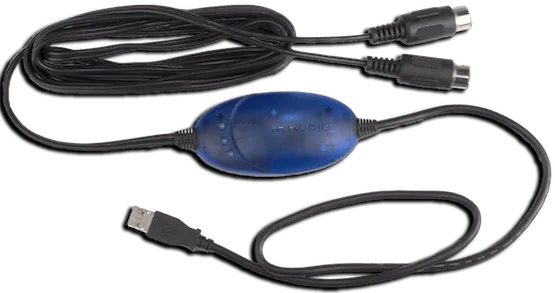
For this, you will need a MIDI to USB interface.
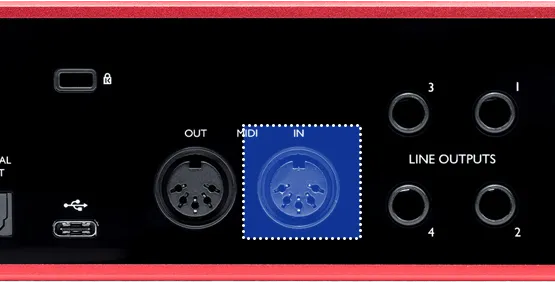
Here’s an example of a MIDI to USB interface. Most will come with an LED indicator to show activity. To check that you’ve plugged it in correctly, you should see “MIDI In” blinking when you press a key.
If you have an audio interface, you may already have a way to plug in MIDI to your computer, as some audio interfaces come with MIDI inputs. For example, this Scarlett has MIDI connections in the back.
After that, right click on Rock Band 3 in RPCS3, then click on Change Custom Configuration.

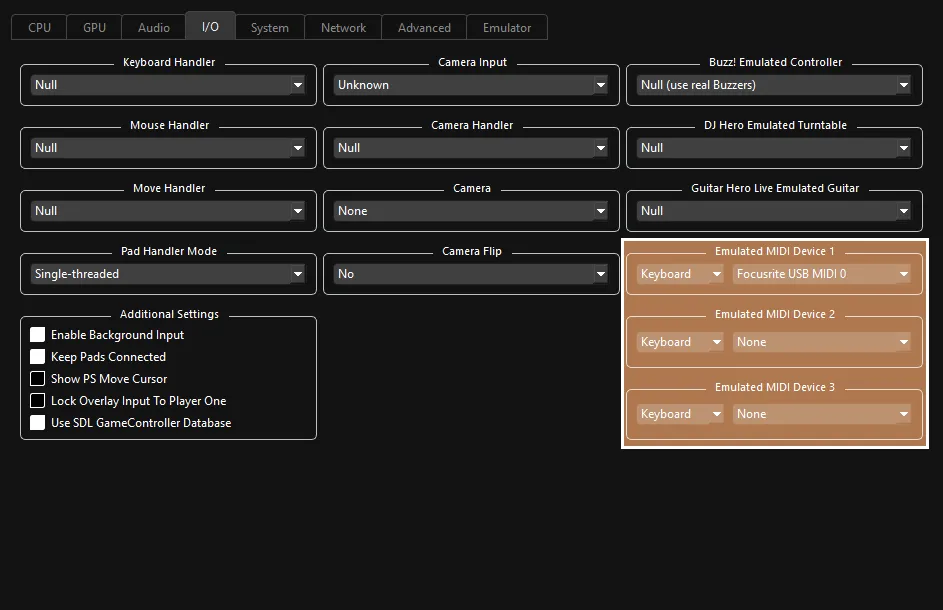
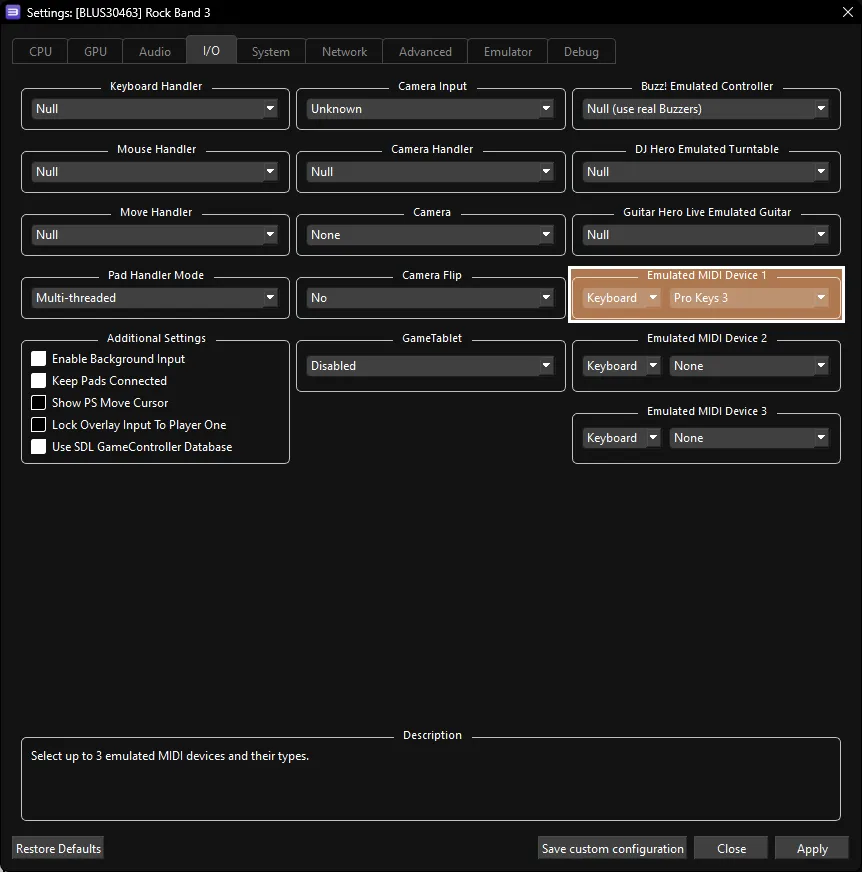
After that, go to the I/O tab.
 :
:
- 🎹 Leave your
Emulated MIDI typeonKeyboardand select your MIDI interface in the drop-down menu next to it.
- 🎹 Leave your
Additional Information
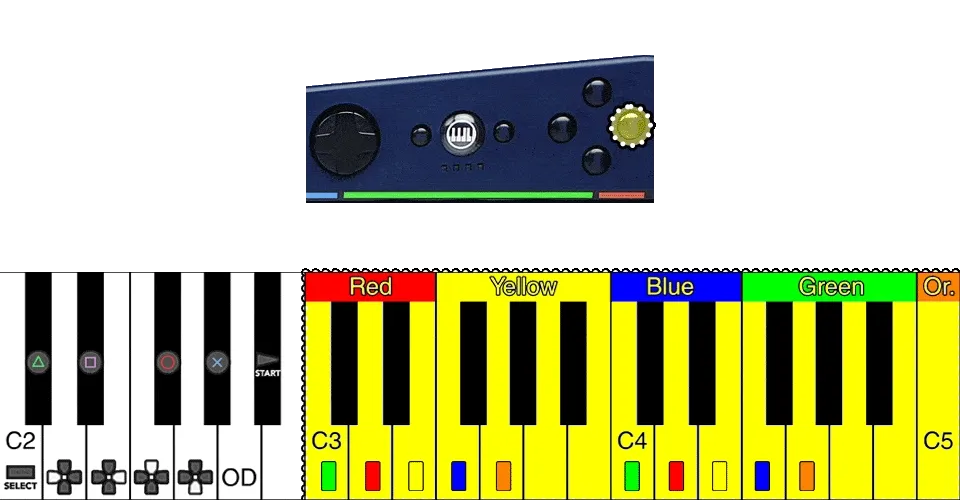
Section titled “Additional Information”Since the keyboard controller buttons don’t function like they do when connected with a dongle, you will have to shift octaves to control the menus.
You can shift octaves with the 1 and B buttons.
| Note | Button |
|---|---|
| C2 |  |
| D2 |  |
| E2 |  |
| F2 |  |
| G2 |  |
| A2 | Deploy Overdrive |
| C#2 |  |
| D#2 |  |
| F#2 |  |
| G#2 |  |
| A#2 |  |
| Modwheel | Deploy Overdrive |
| Sustain | Deploy Overdrive |
| Pitch Wheel | Whammy/Touch Strip |
[Using a computer keyboard along with a 25 key keyboard]
You can use your regular computer keyboard and convert its key presses to the MIDI notes that correspond to the game buttons in case you want to avoid swapping octaves constantly.
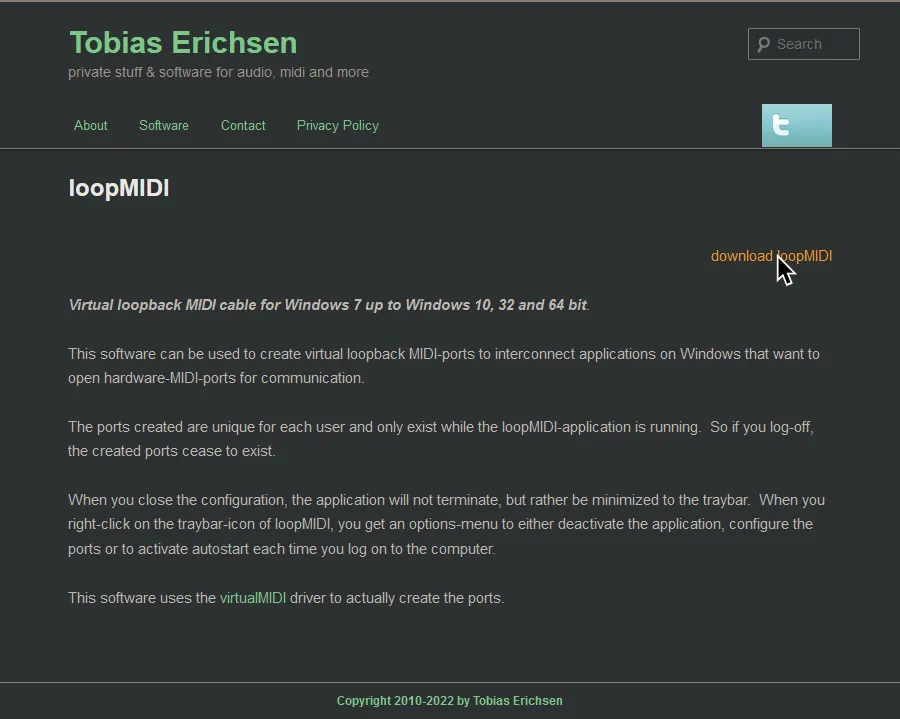
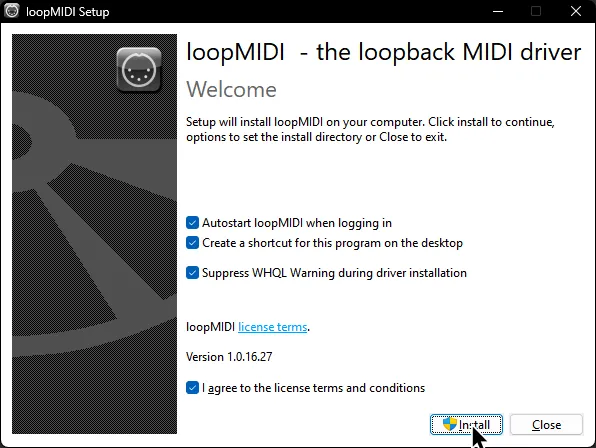
First, [download loopMIDI].
Install loopMIDI.
Launch it after it finishes.
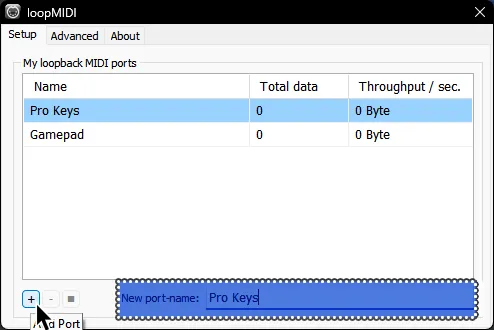
Add two new ports by clicking on the + button in the bottom. You should name the ports, too. They’ve been named “Pro Keys” and “Gamepad” in this example.
Now, download [the .zip archive that contains the win64 version of FreePiano].

Extract the .zip archive somewhere you can easily find it.
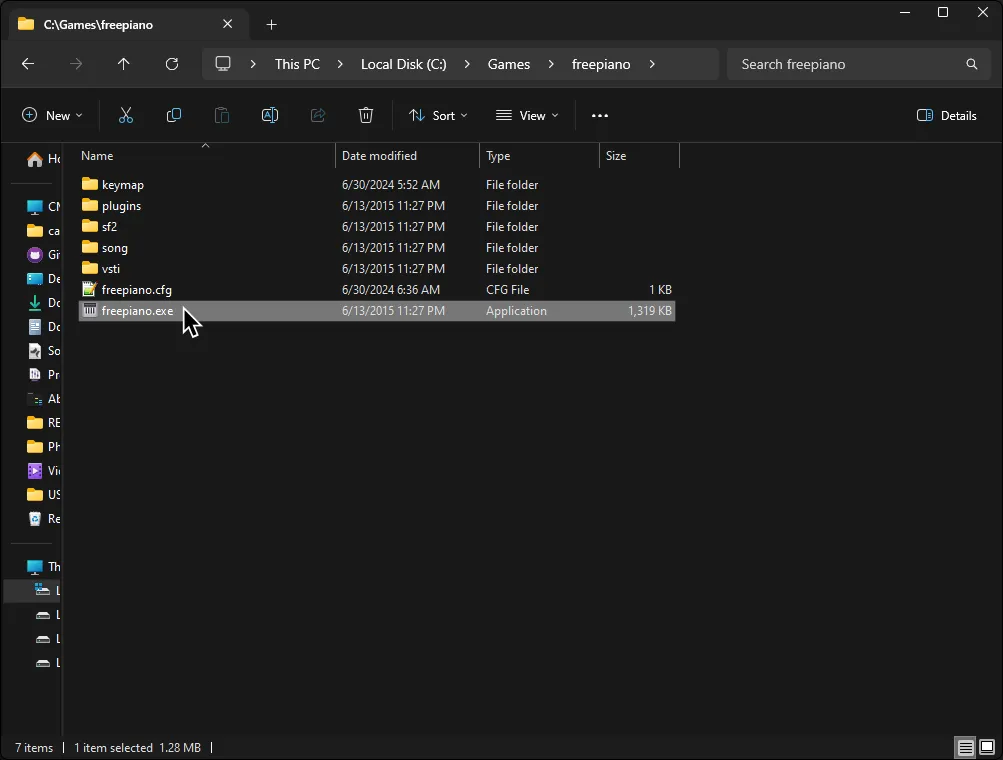
It was extracted to C:\Games\freepiano in this example.
Go to where you extracted FreePiano and run the freepiano executable.
Assign the keys to your liking as shown in the [#Additional Information] section above.
There is also a premade profile if you’d like, which you can [download here].
To use the preset, place the rb3gamekeys.map file in the keymap folder located where you extracted FreePiano.
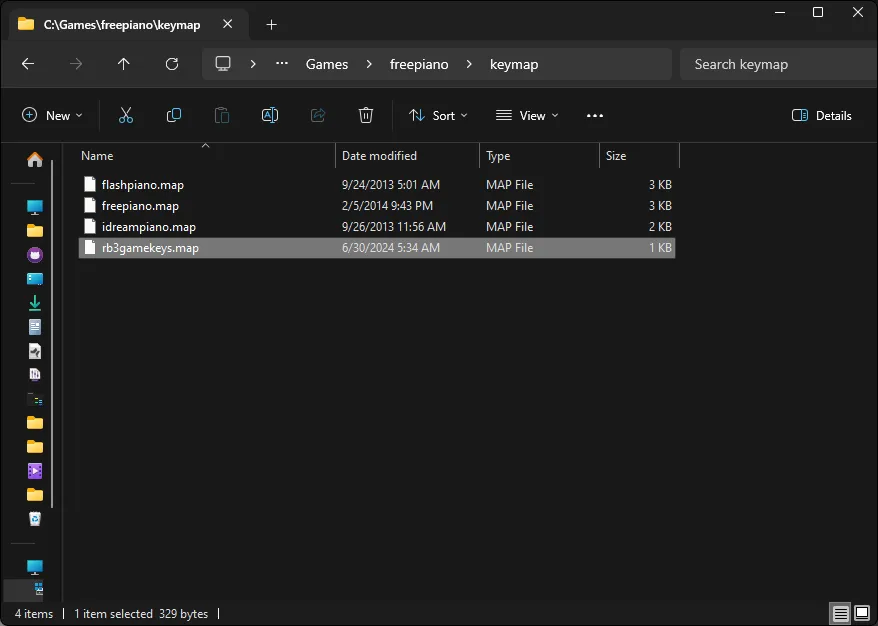
Select rb3gamekeys.map in the Keymap dropdown button to load the premade profile.
Likewise, if you made your own profile or edited the premade profile, you can click on Save to save your profile.

The premade profile is mapped like this:
| Key | Action |
|---|---|
Enter | |
Shift | |
Up | |
Down | |
Left | |
Right | |
A | |
S | |
D | |
F | |
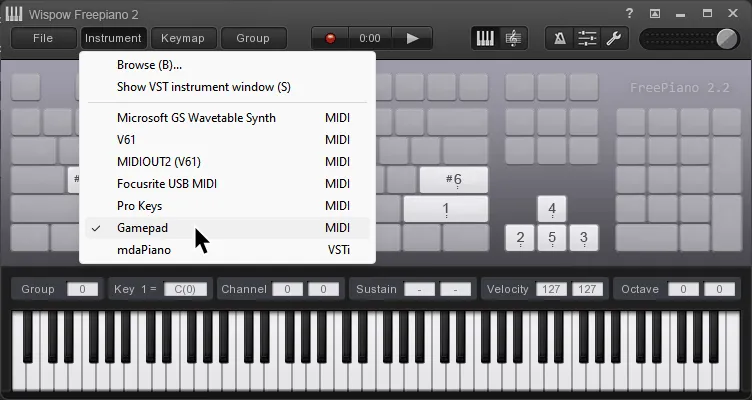
Once you are done mapping, click on Instrument at the top of Freepiano’s window and select the Gamepad MIDI output, which you made with loopMIDI earlier.
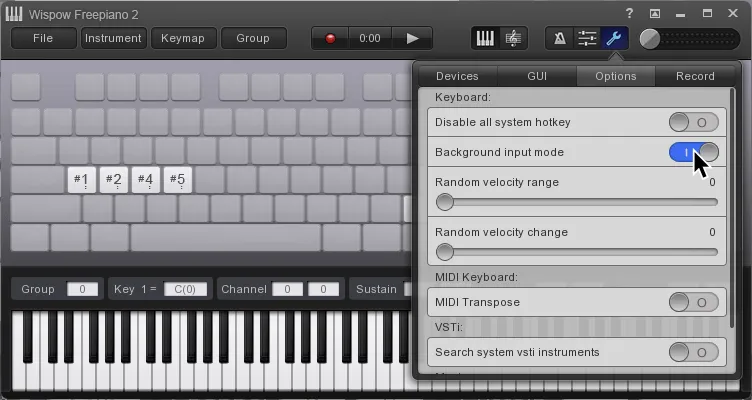
It’s suggested you enable Background input mode, located within the Options tab which is accessed by pressing the Wrench icon in the top right side of FreePiano.
Now, [download MIDI-OX].
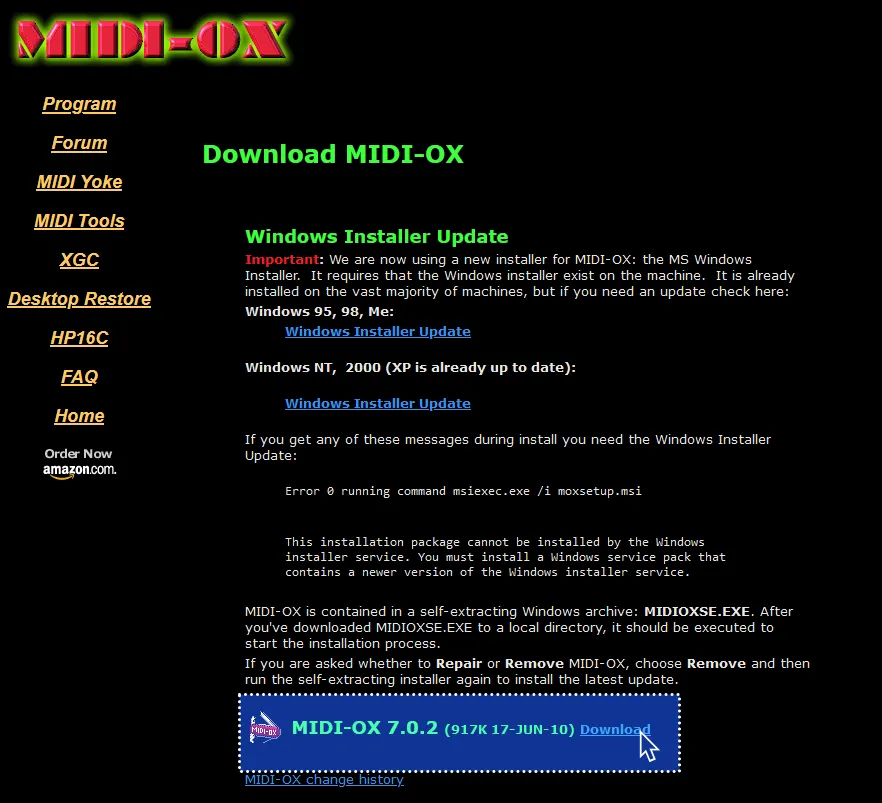
Install MIDI-OX.

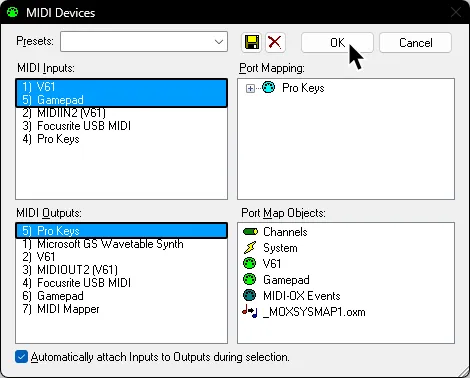
Open MIDI-OX then navigate to Options > MIDI Devices
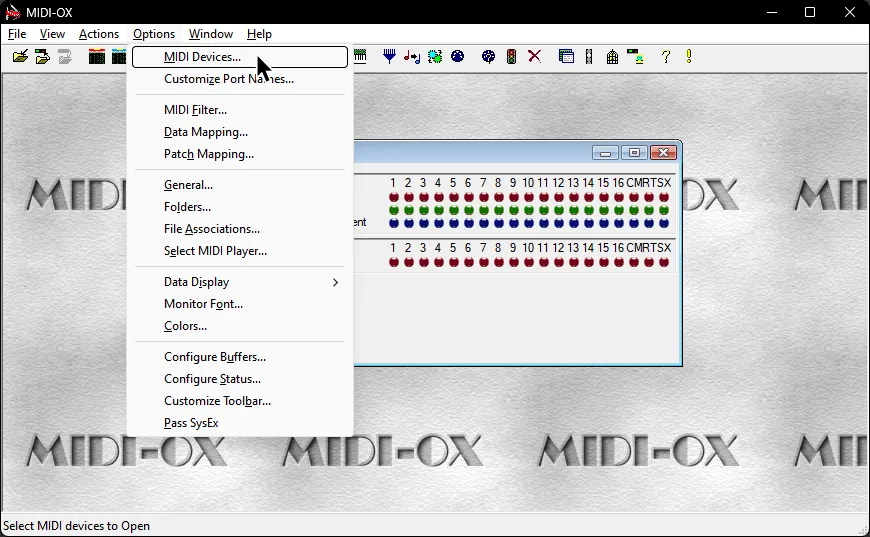
In the MIDI Devices menu, select your keyboard and the port you made in loopMIDI (“Gamepad”) for FreePiano in the MIDI Inputs section.
Select the other port you made in loopMIDI (“Pro Keys”) in MIDI Outputs. This will combine both MIDI inputs into a single output.
Finally, in RPCS3, go to Rock Band 3’s Custom Configuration then go to the I/O tab.
Select the port that you selected as your output in MIDI-OX (“Pro Keys”).
That’s it. Remember to close all three different programs when you’re not using them because they may cause issues with certain shortcuts on Windows.
You will have to reopen these programs every time you want to play.
Research by [Linos]