

Troubleshooting
Customs not showing up/working online / Scores not saving
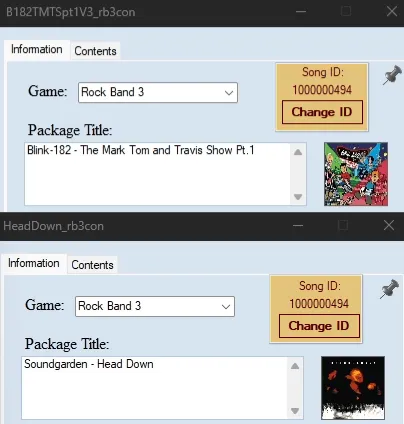
Section titled “Customs not showing up/working online / Scores not saving”Rock Band 3 can only remember scores for unique numeric song IDs. If you didn’t follow [the main Xbox 360 to PS3 guide] or have an outdated version of [Nautilus], chances are you will bump into songs with problematic IDs.
Songs with alphabetic IDs will generate a new ID and wipe your score every time the game starts.
While online, these songs will grey even if you and other players have the same song installed. To avoid this, the song needs to have a numeric ID.
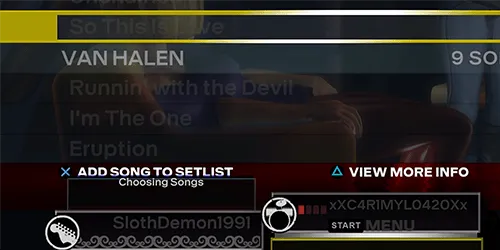
If the songs have a duplicate ID, one of them will never show up.
You can solve both of these issues by correcting the IDs with Nautilus.
Fixing IDs Before Installing
Section titled “Fixing IDs Before Installing”- Simply follow [the main Xbox 360 to PS3 guide].
This is automatically fixed.
Fixing IDs of Installed Songs
Section titled “Fixing IDs of Installed Songs”-
Open Nautilus and select
PS3 Converter.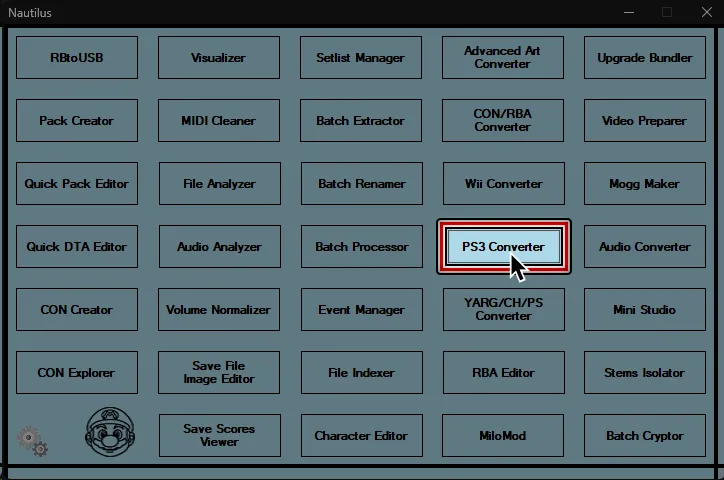
-
At the top of the
PS3 Converterwindow, go to:
Song ID Options > Batch correct song IDs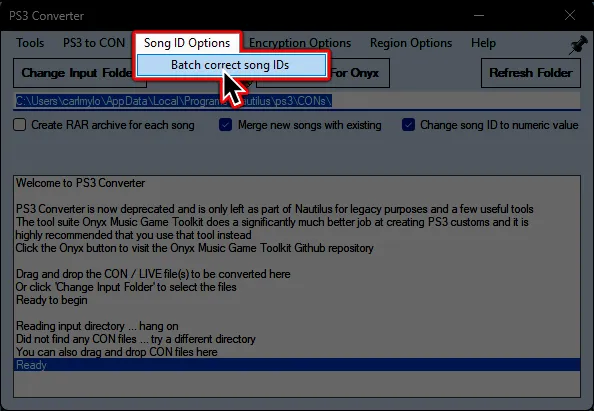
-
On either PS3 or RPCS3, navigate to song/pack containing the song with the bad ID (normally within
dev_hdd0\game\BLUS30463\USRDIR\[SONGNAME]\songs).
After finding it, select thesongs.dtafile within the folder.
-
Wait for it to finish correcting every song within that pack.
When it finishes, you can share the fixedsongs.dtafile with your friends to play the previously unavailable songs together.
Songs Stuck Looping at the End
Section titled “Songs Stuck Looping at the End”Occasionally certain songs may freeze toward the end of the chart, constantly looping the last bits of the audio endlessly.
- You will need to uninstall the song. Check [the deletion guide] if needed!
- You will need need the original CON file to fix this issue!
- Do not run every song through this if it does not need fixing, the audio will be re-encoded and will have a slight decrease in audio quality
-
Open Nautilus and select
PS3 Converter.
-
At the top of the
PS3 Converterwindow, go to:
Tools > Batch fix looping songs
-
Go to the folder where the problematic CON is at and select the folder.
Wait for it to finish.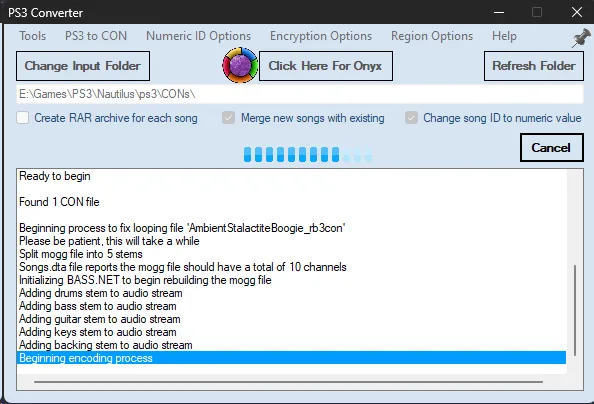
-
After it’s done, you can go back to step 4 of [the main tutorial].
PS3: Greyed out customs
Section titled “PS3: Greyed out customs”By default, the PlayStation 3’s Parental Controls are set to level 9.
This doesn’t allow customs that are classified as “Unrated”, causing them to appear grey.
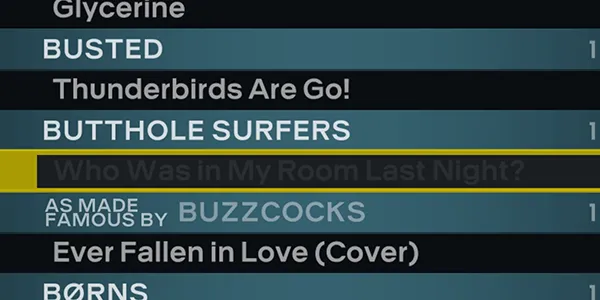
Selecting these songs will cause a crash.
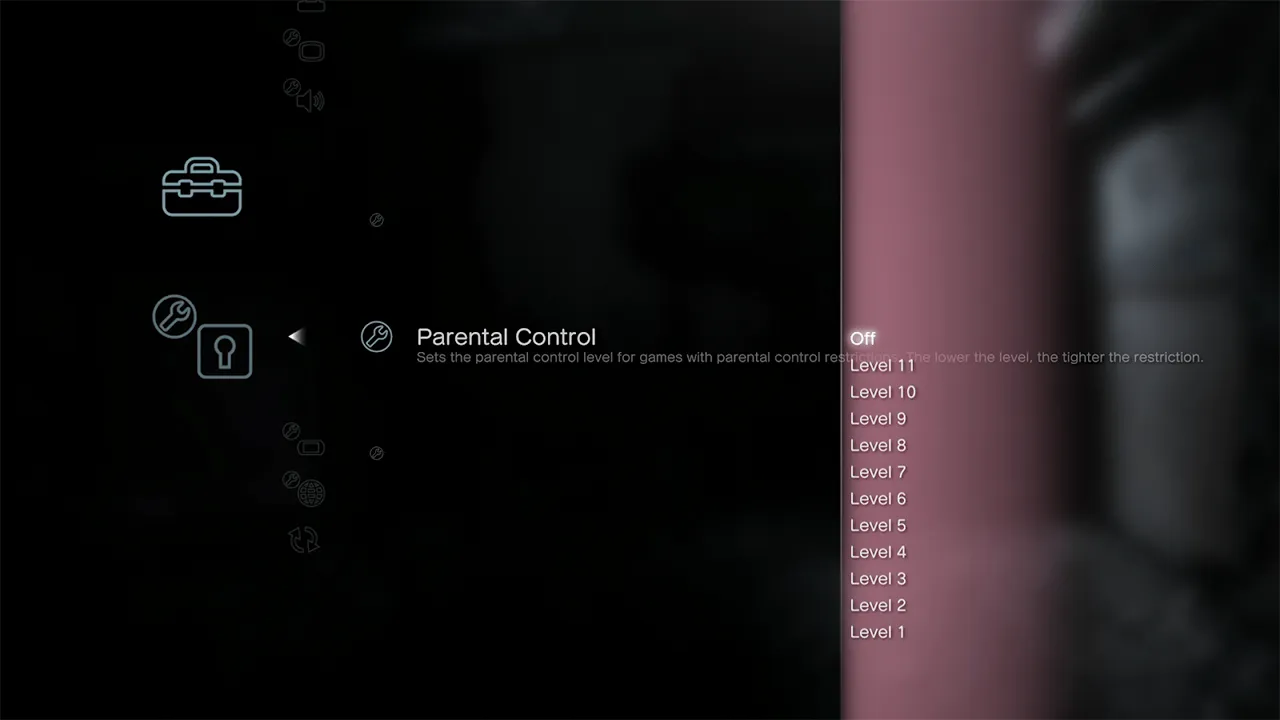
To fix this, set the Parental Control to Off in:
XMB: [ Settings ] -> [ Security Settings ] -> [ Parental Control ] -> [ Off ]
Songs still infinite loading
Section titled “Songs still infinite loading”In very rare cases, songs might still have infinite loading, even after the using PS3 fixer.
You can fix this with Nautilus’ Batch Cryptor.
-
Open Nautilus and select
Batch Cryptor.
-
Swap to
Decryptat the bottom of the screen.
-
For both PS3 and RPCS3 users, navigate to the folder containing the song you wish to fix.
It will usually be indev_hdd0\game\BLUS30463\USRDIR\[PACKNAME]\songs\[PROBLEMATICSONG]).
There will be a.moggfile in the song’s folder.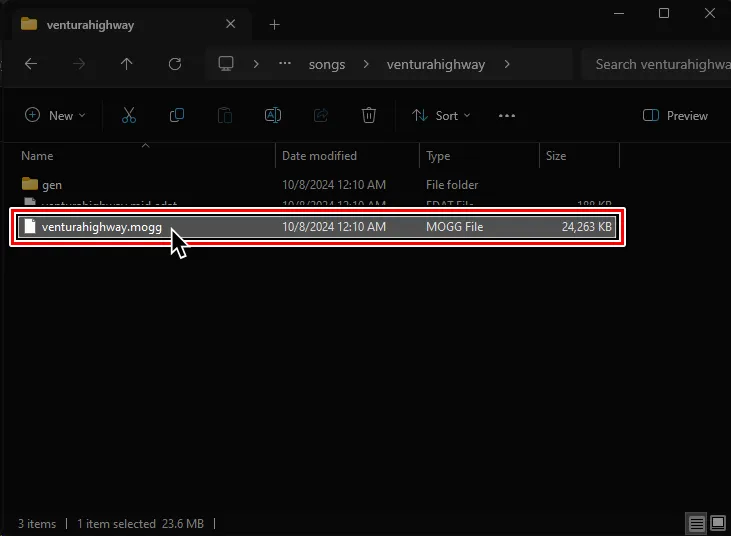
-
Drag and drop the song’s
.moggfile ontoBatch Cryptorand clickBegin.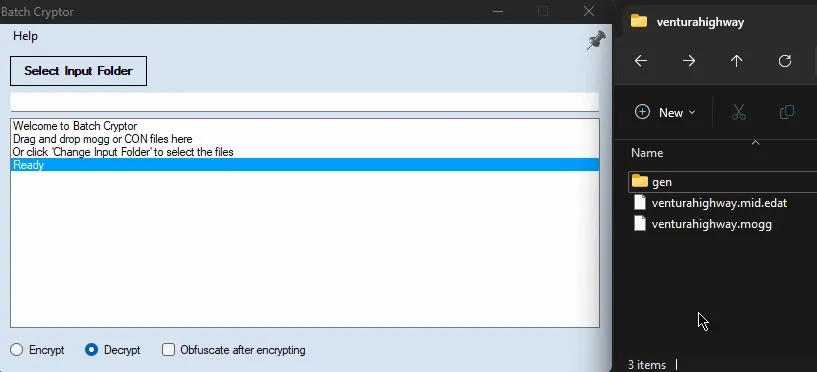
-
A new folder called
decryptedwill appear when it finishes.
Go into the newdecryptedfolder and cut the.moggfile inside of it.
Go back to the song’s main folder and replace the old.moggfile.